Uprising: Join or Die
aka:
Uprising: Unisciti o muori
Moby ID: 2505
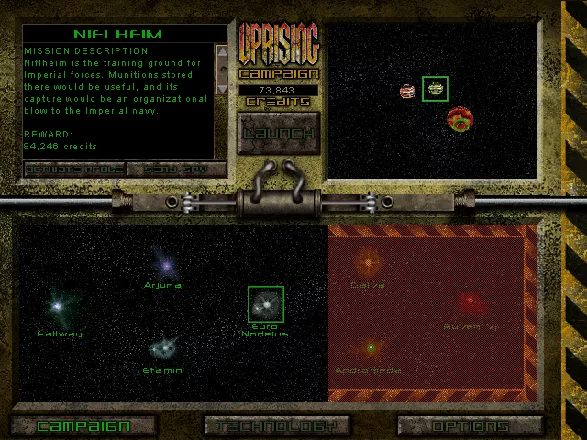
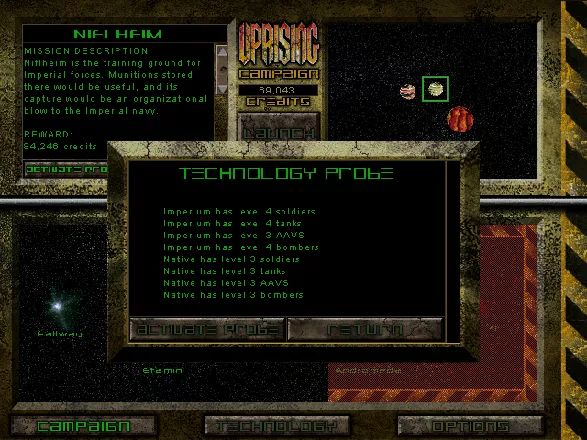
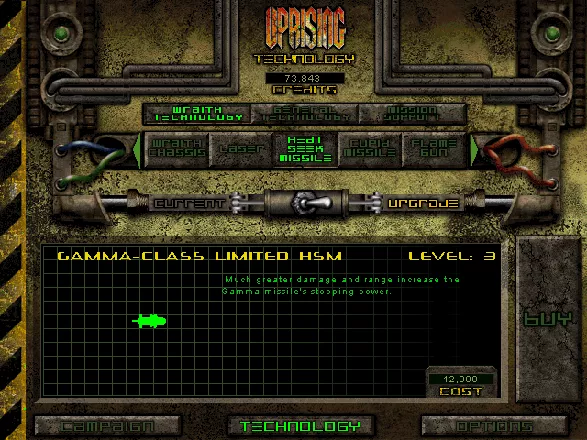
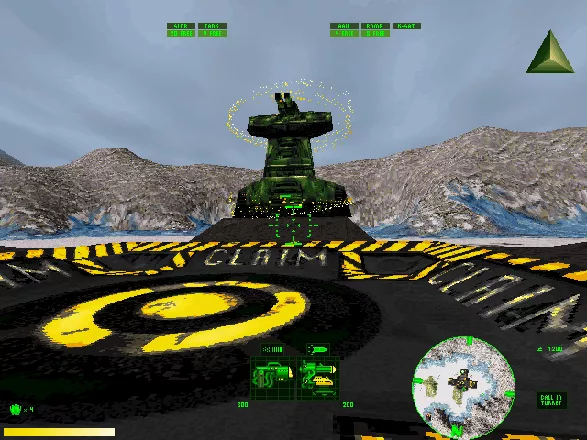
Windows screenshots


Are we missing some important screenshots? Contribute.