Fantasy Zone II
aka:
3D Fantasy Zone II,
Fantasy Zone II: The Teardrop of Opa-Opa,
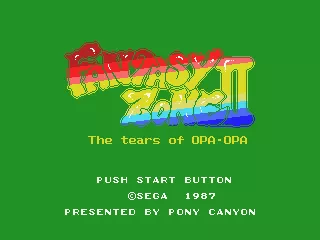
Fantasy Zone II: The tears of OPA-OPA
Moby ID: 13332
[ All ] [ Arcade ] [ MSX ] [ NES ] [ Nintendo 3DS add ] [ SEGA Master System ] [ Wii add ]
Arcade screenshots


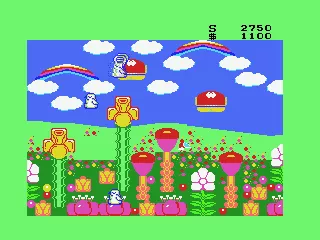
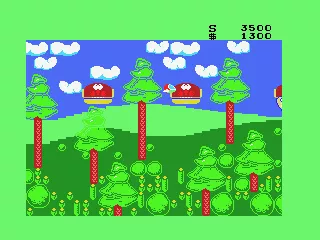
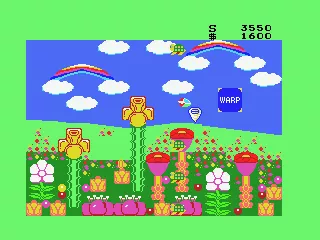
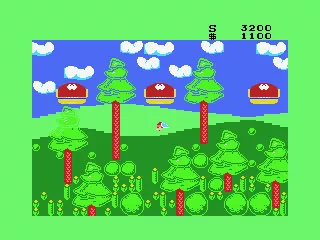
MSX screenshots
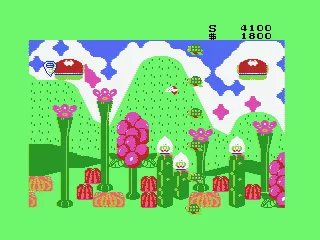
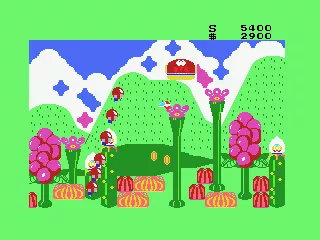
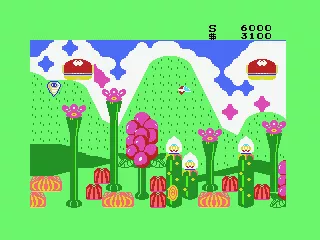
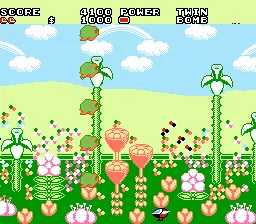
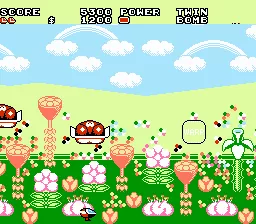
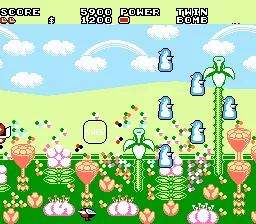
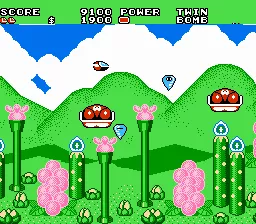
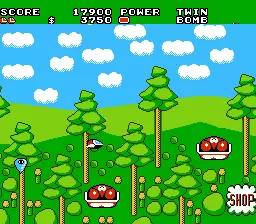
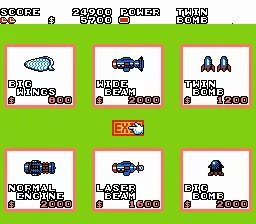
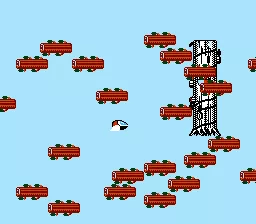
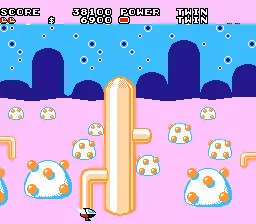
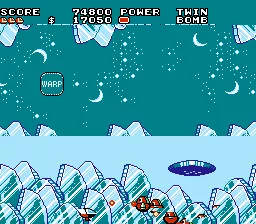
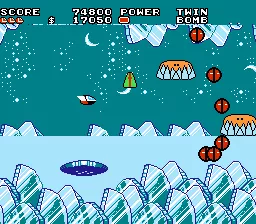
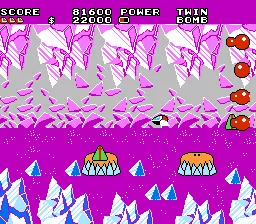
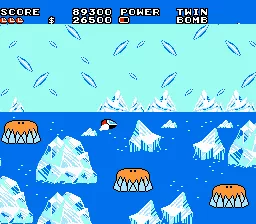
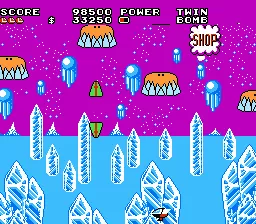
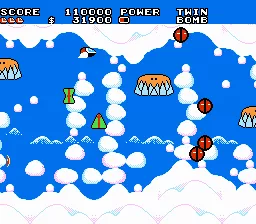
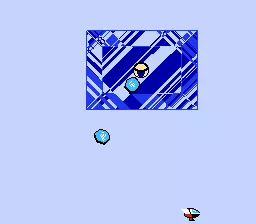
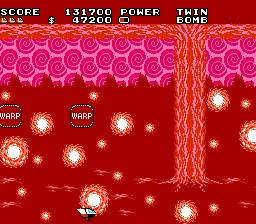
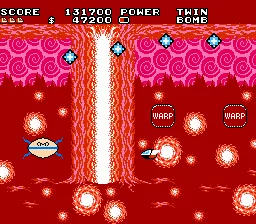
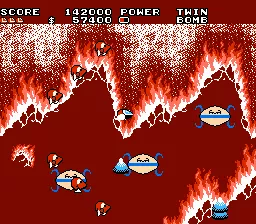
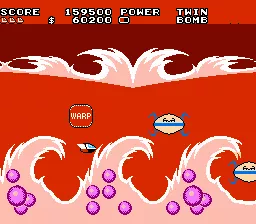
NES screenshots


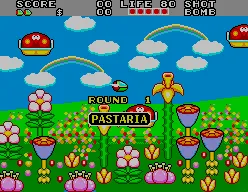
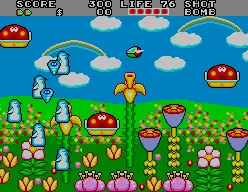
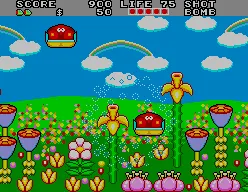
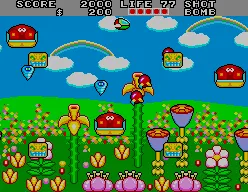
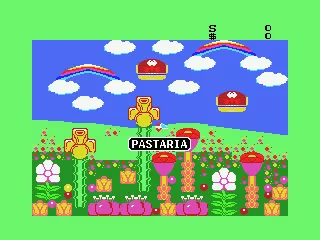
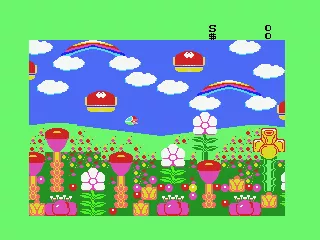
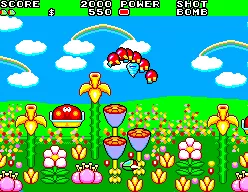
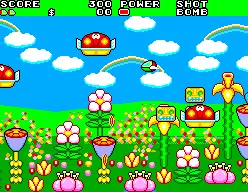
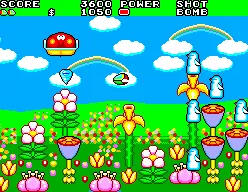
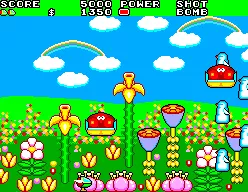
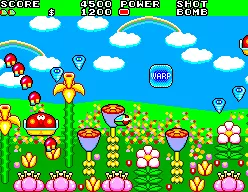
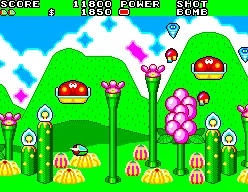
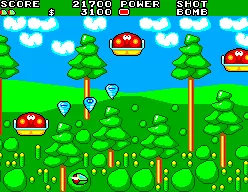
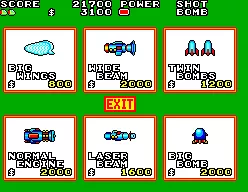
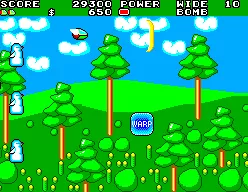
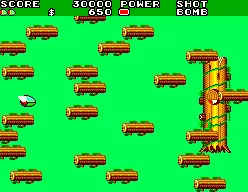
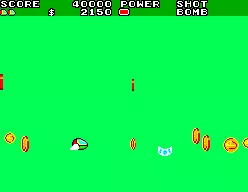
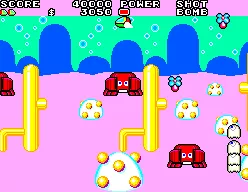
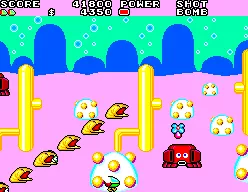
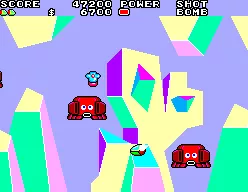
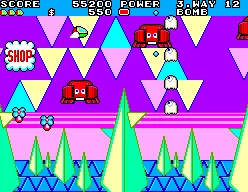
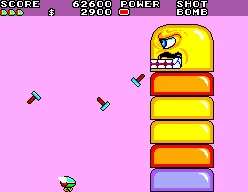
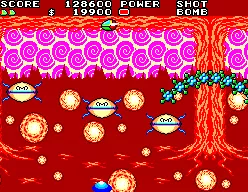
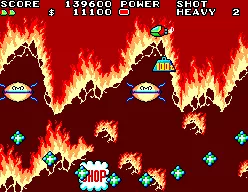
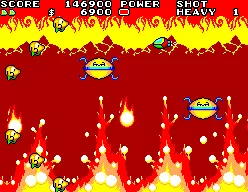
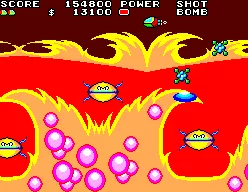
SEGA Master System screenshots

Are we missing some important screenshots? Contribute.