🕹️ New release: Lunar Lander Beyond

République

aka: République: Remastered
Moby ID: 77551

[ All ] [ Macintosh add ] [ PlayStation 4 ] [ Stadia add ] [ Windows ]

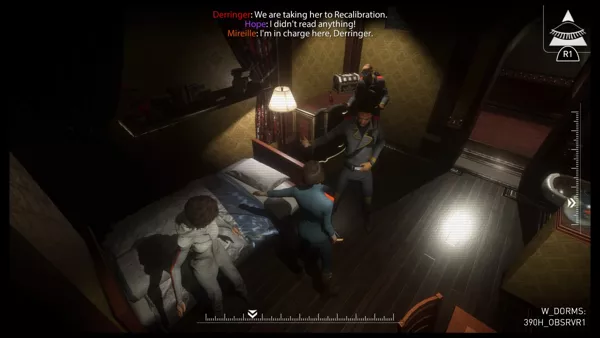
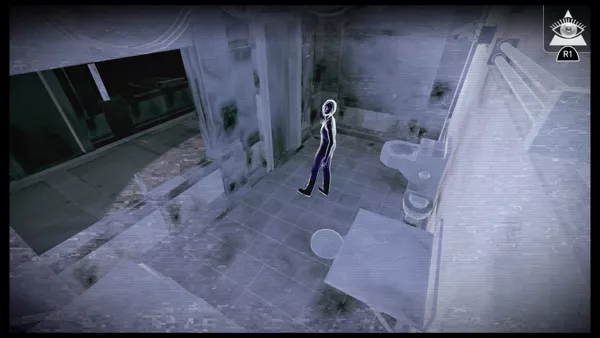
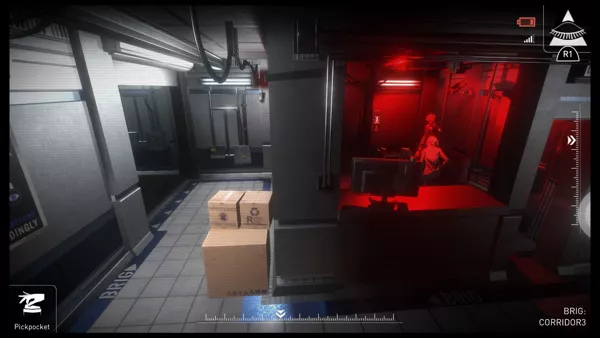
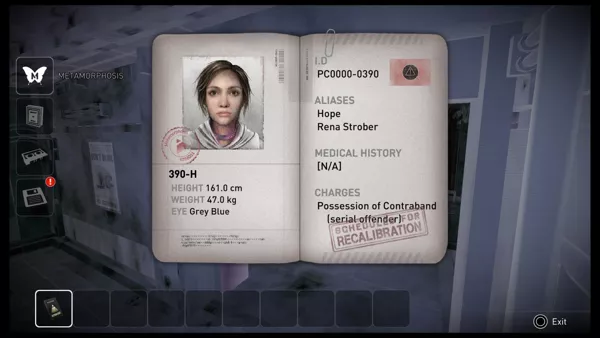
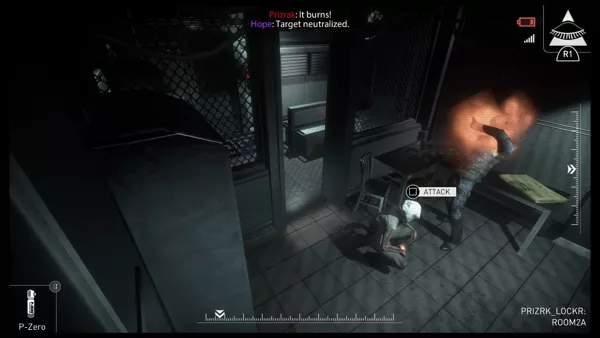
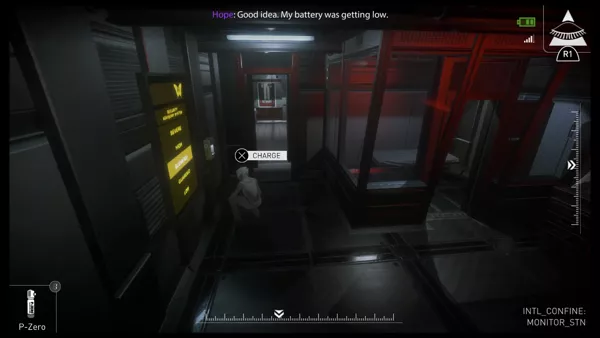
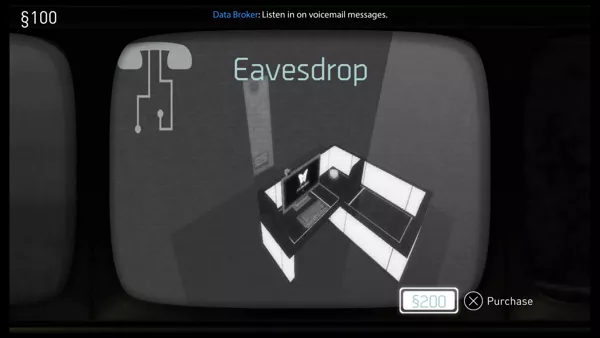
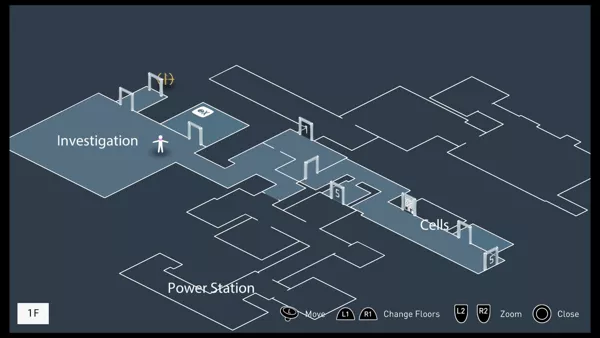
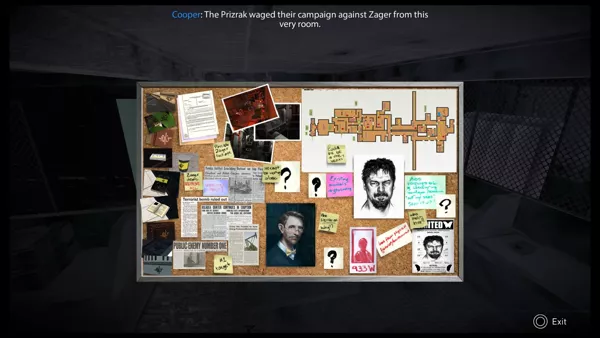
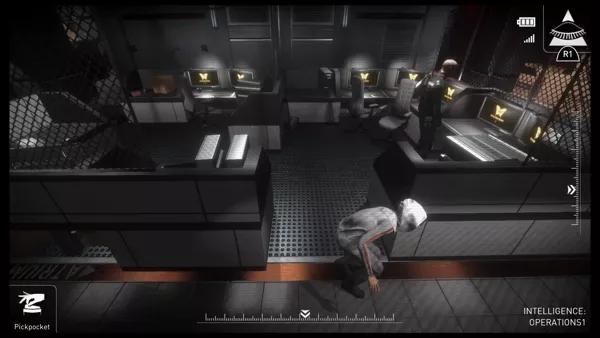
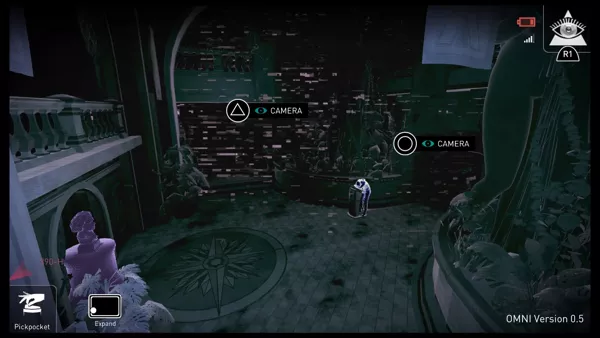
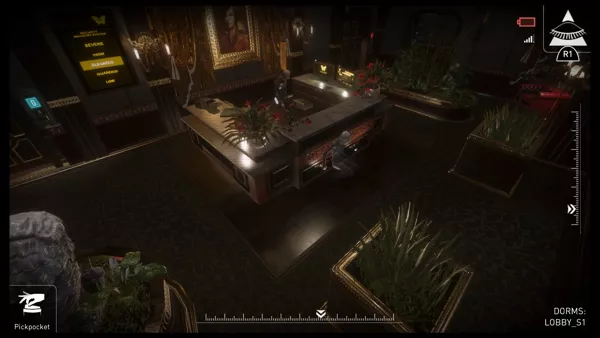
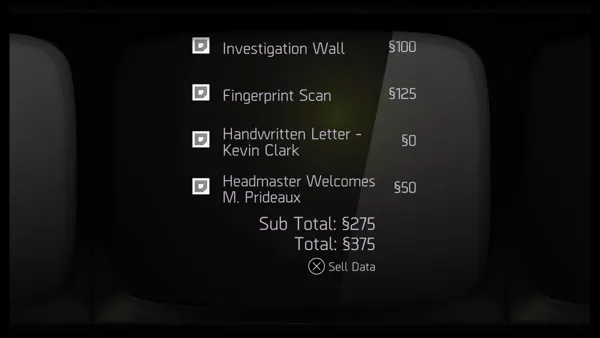
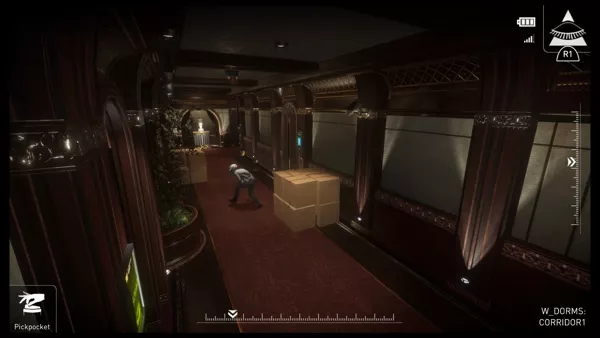
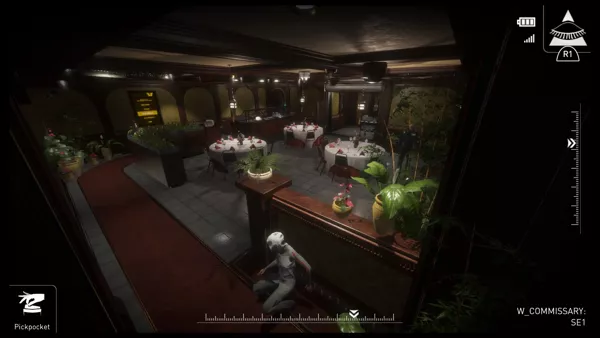
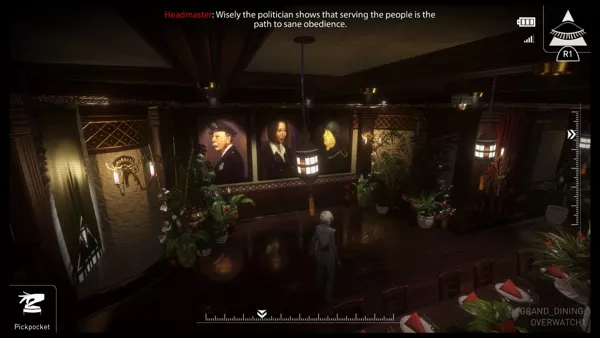
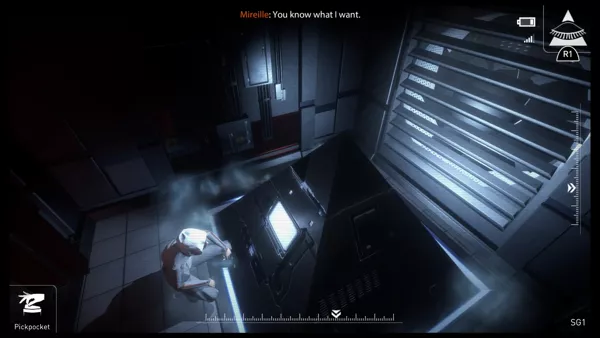
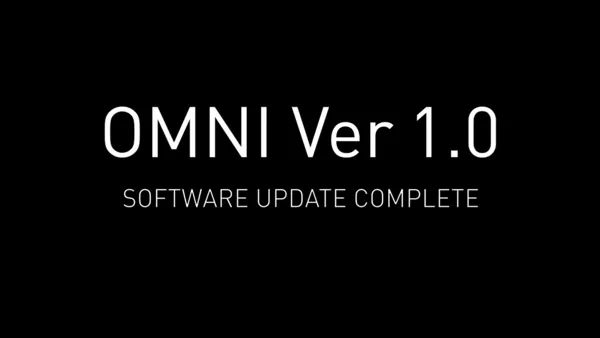
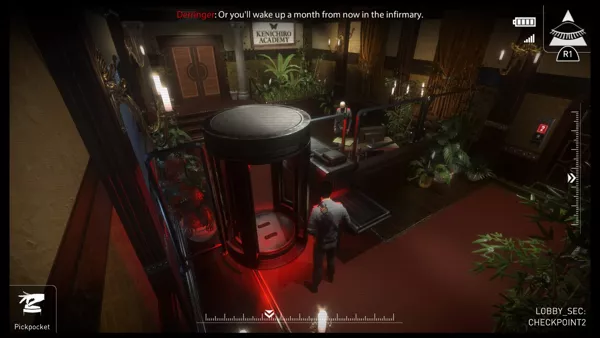
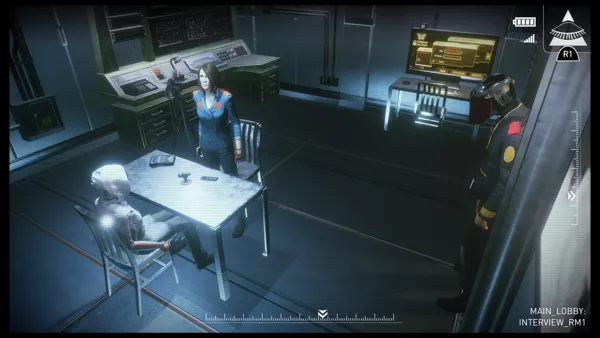
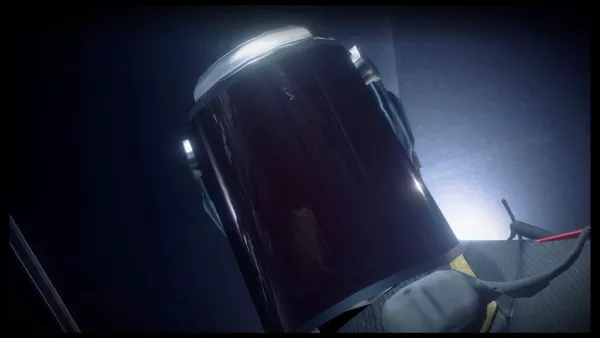
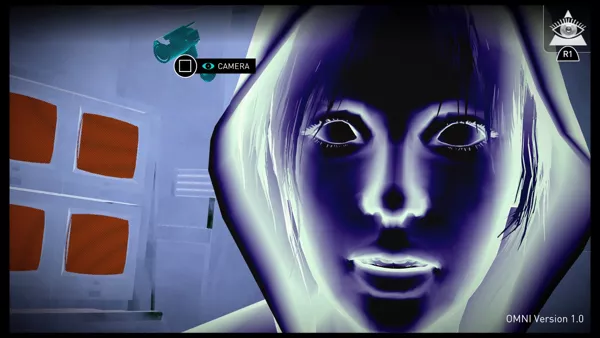
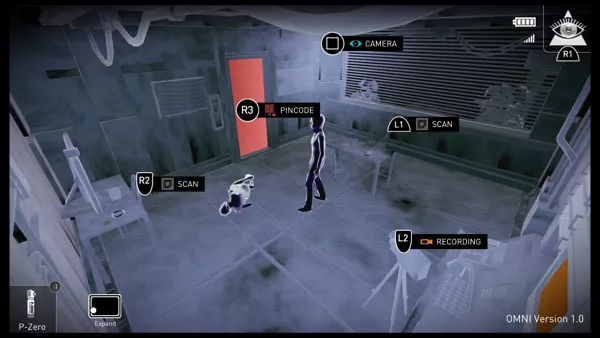
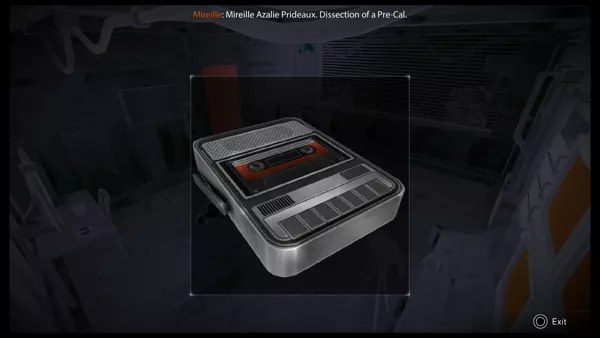
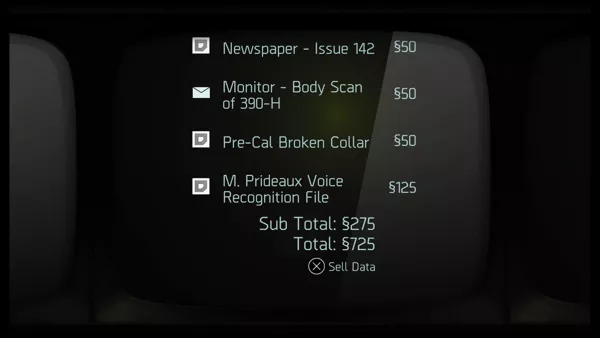
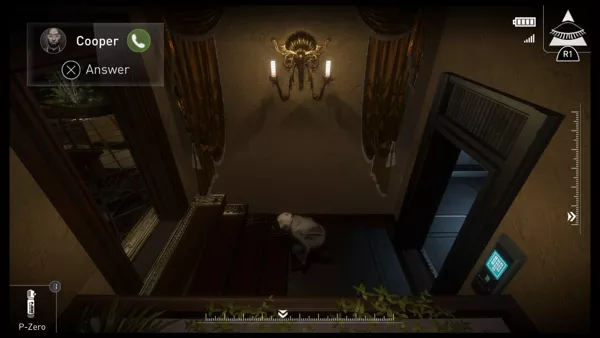
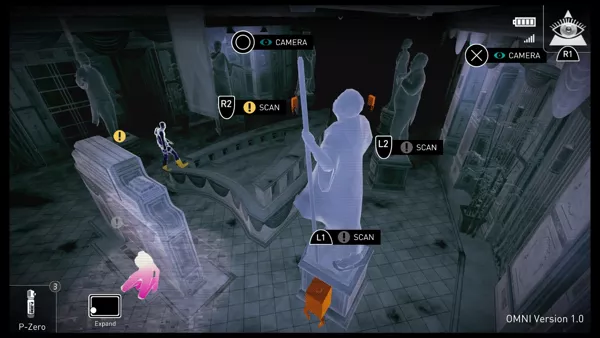
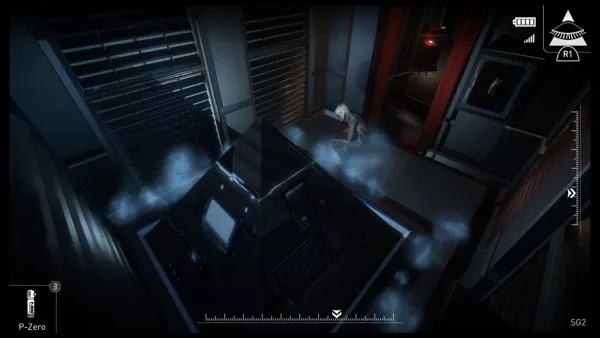
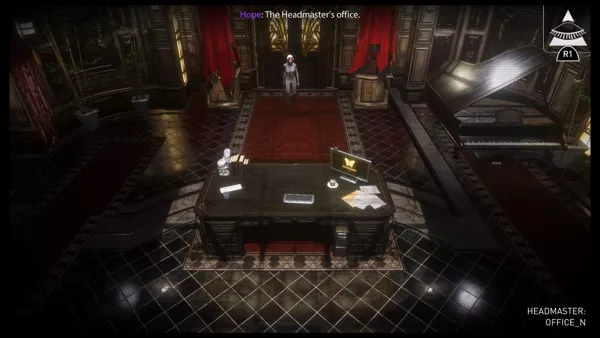
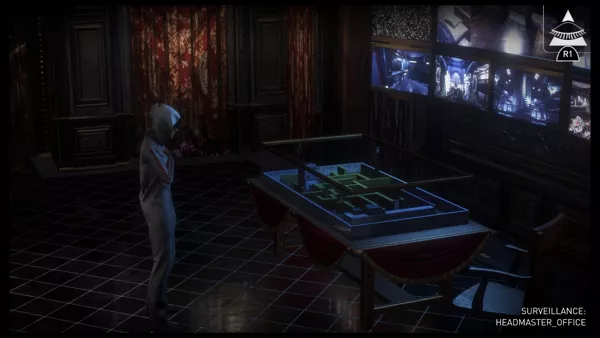
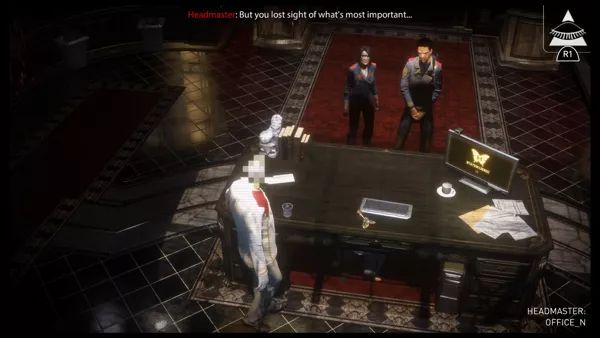
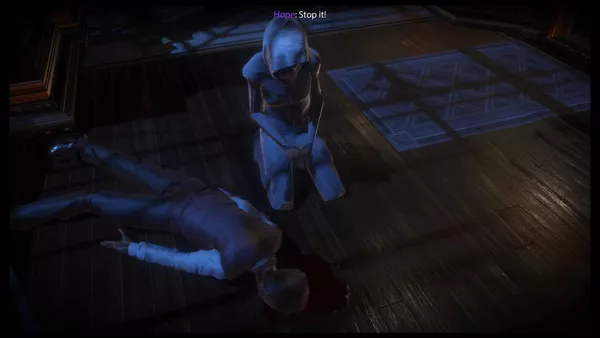
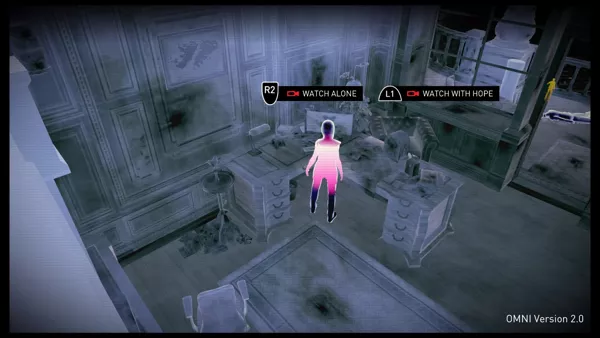
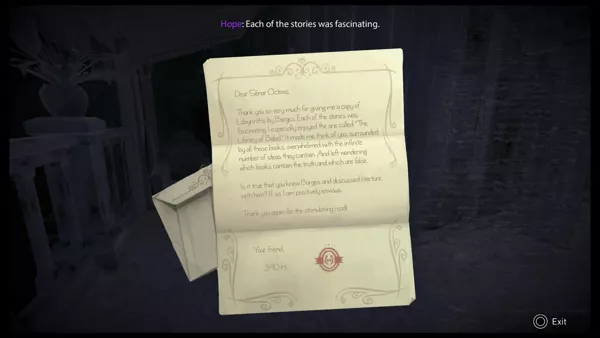
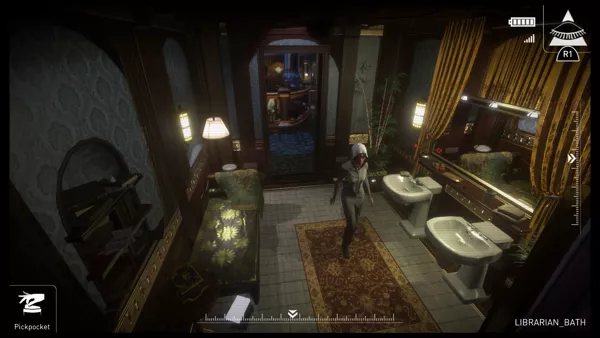
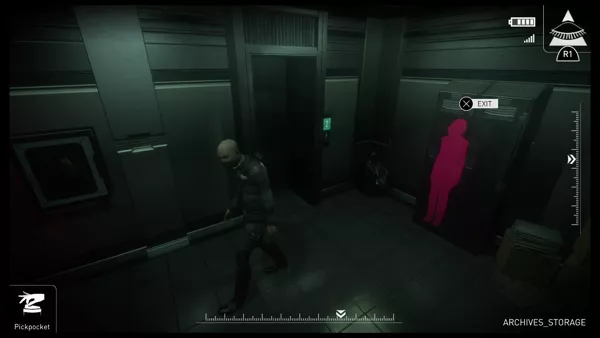
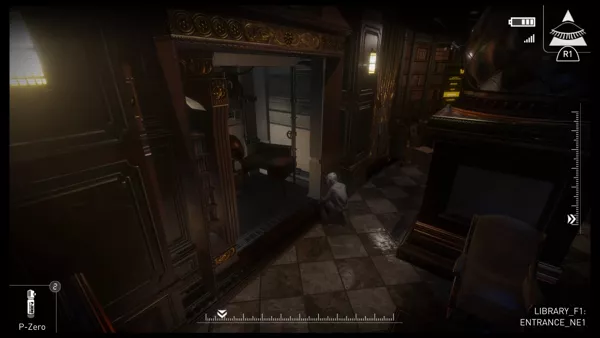
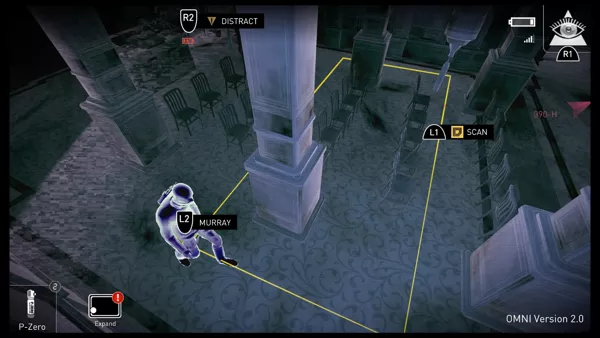
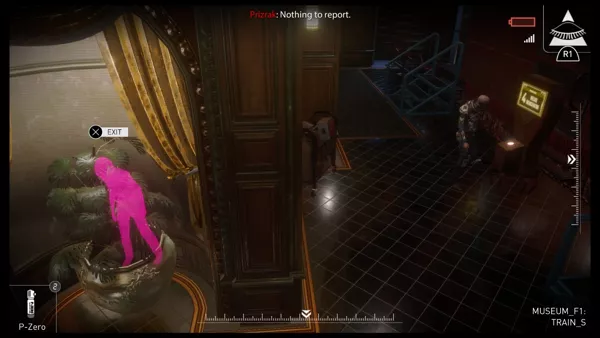
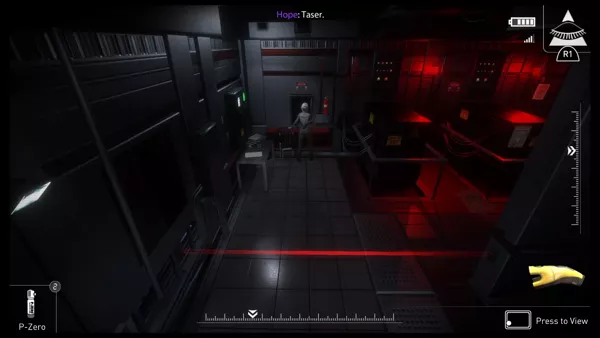
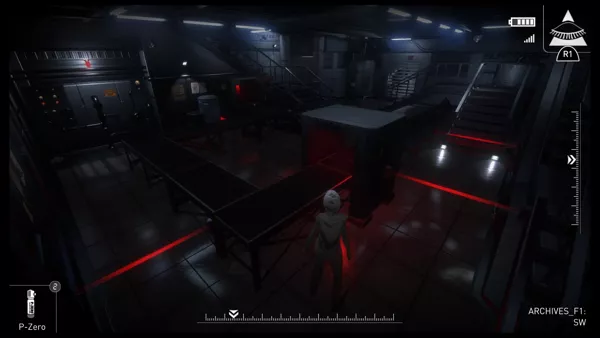
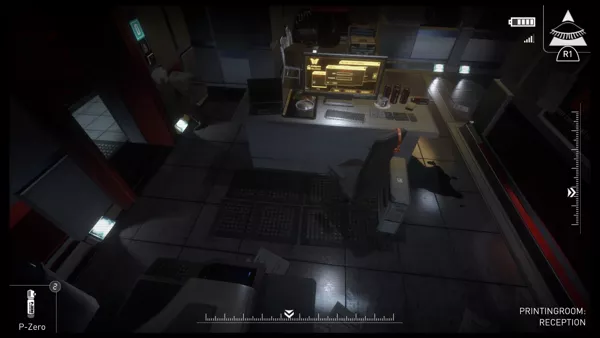
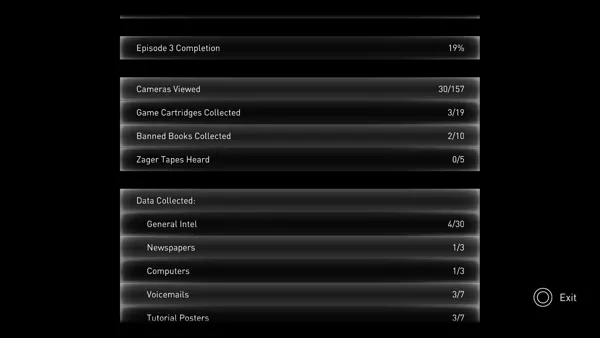
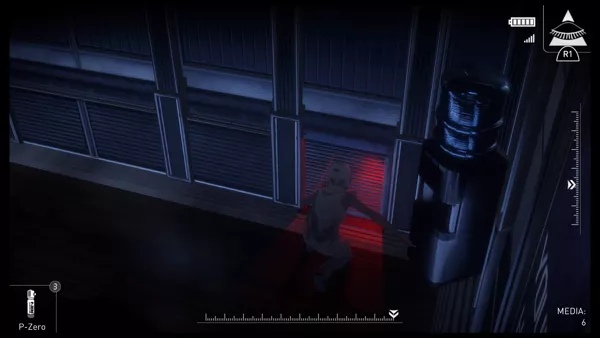
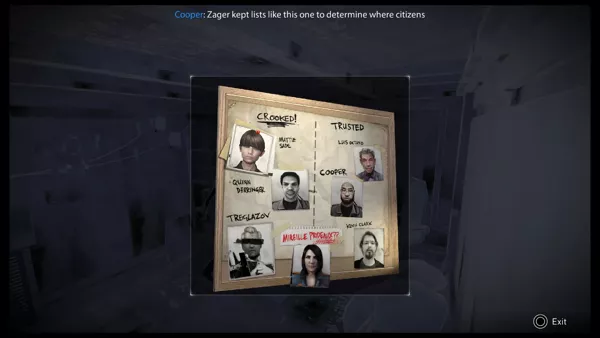
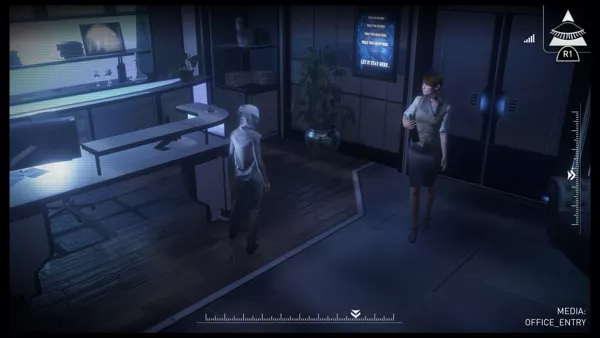
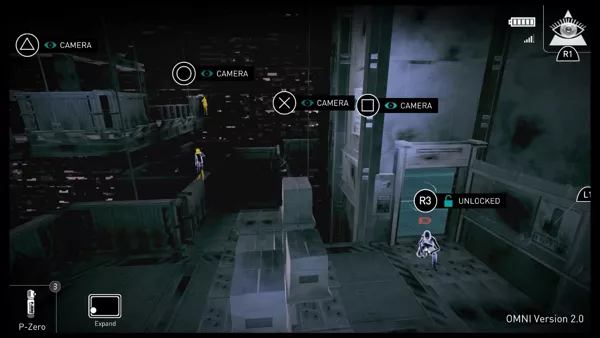
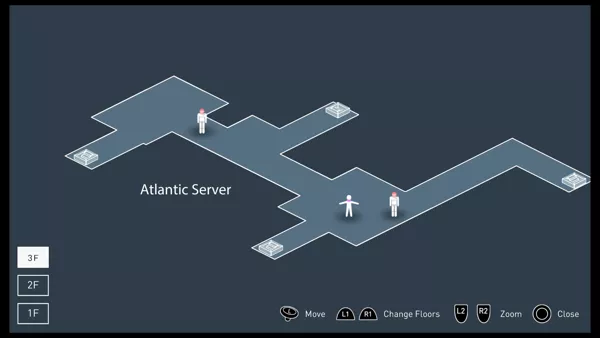
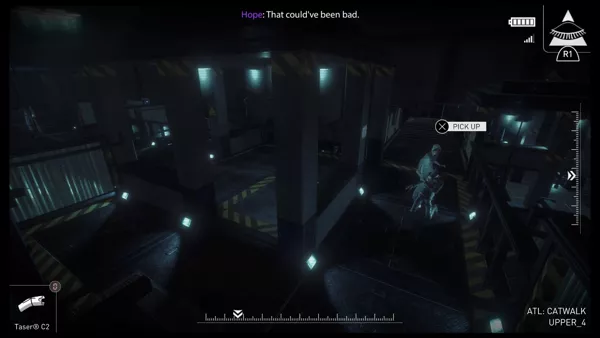
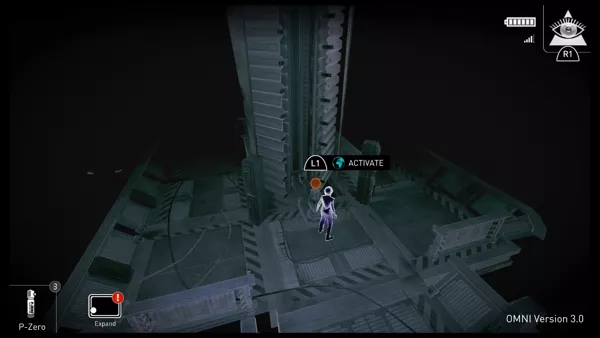
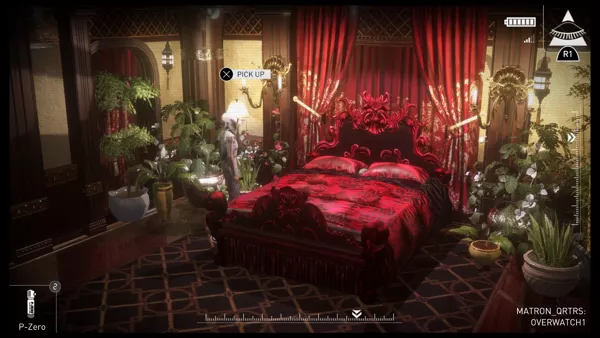
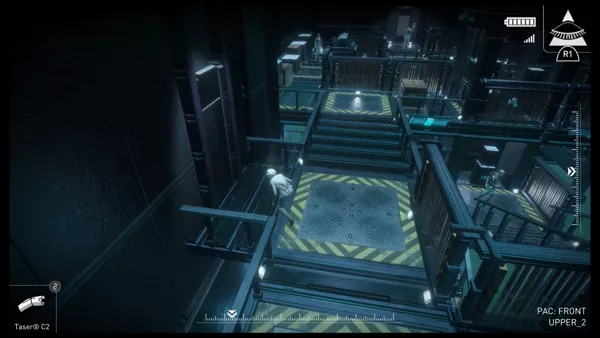
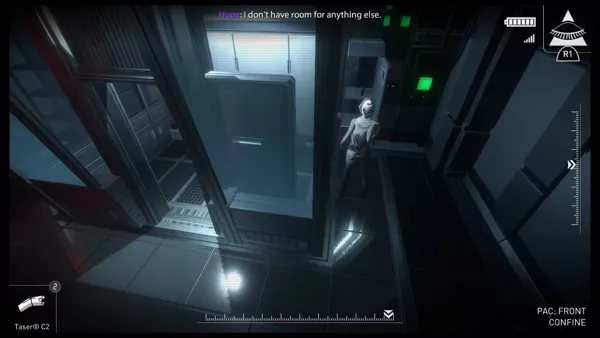
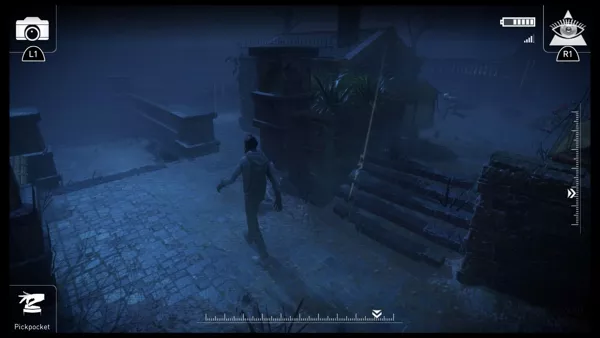
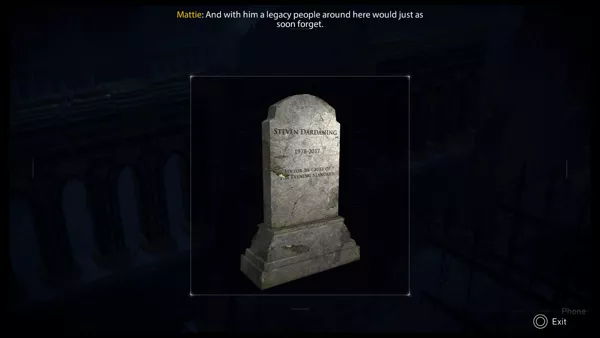
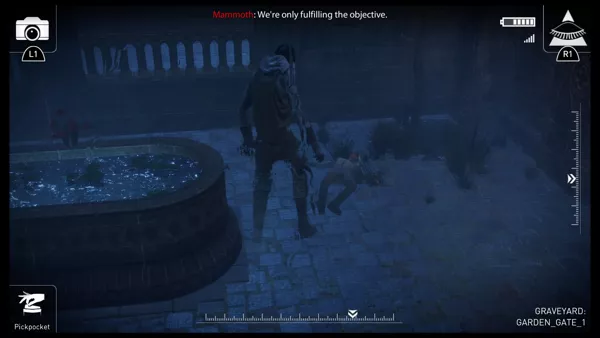
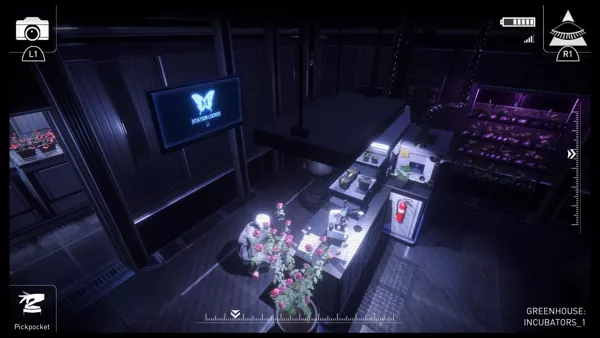
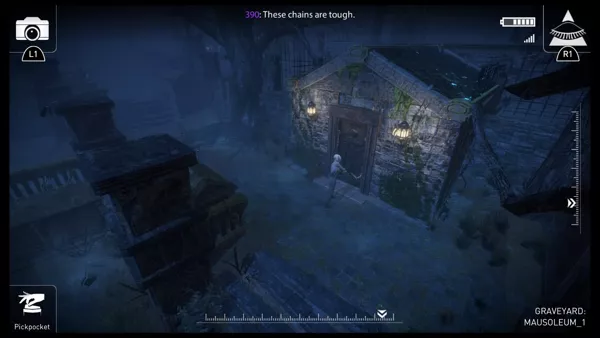
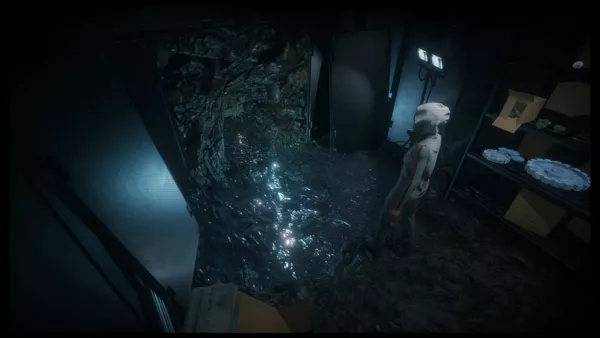
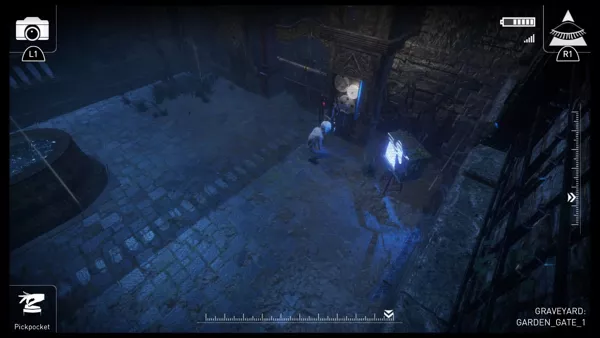
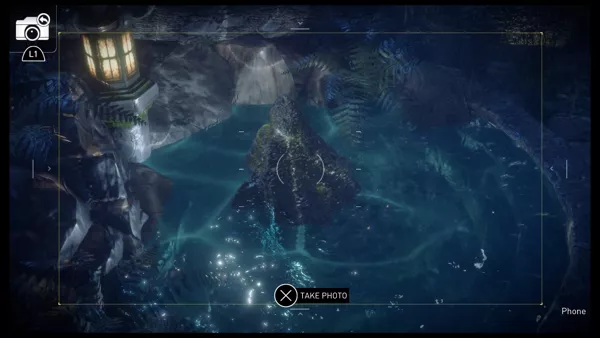
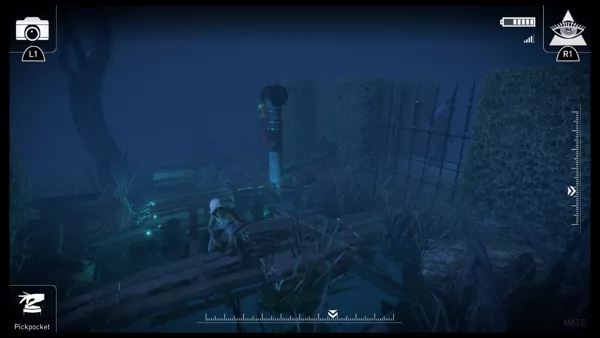
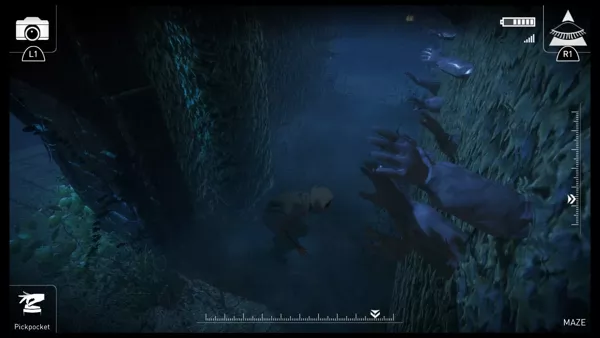
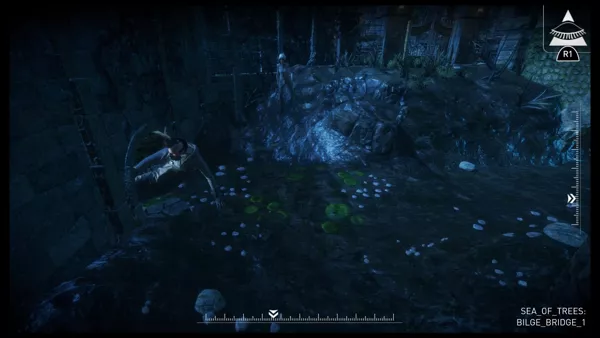
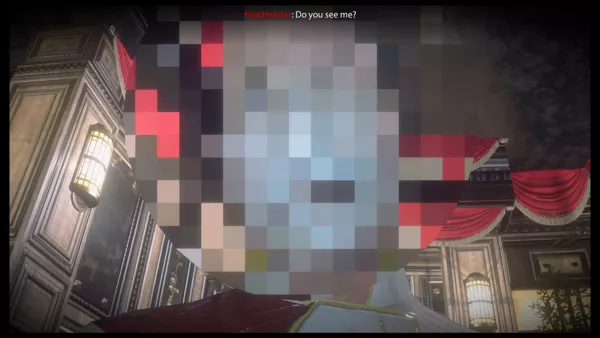
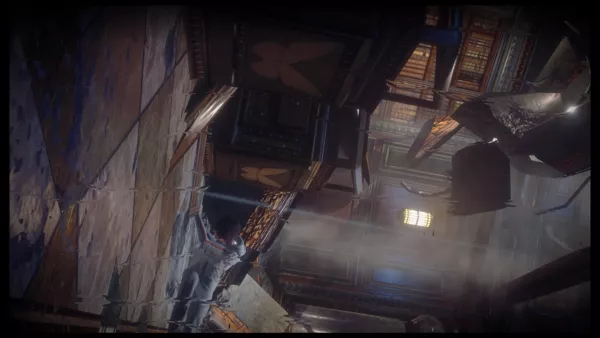
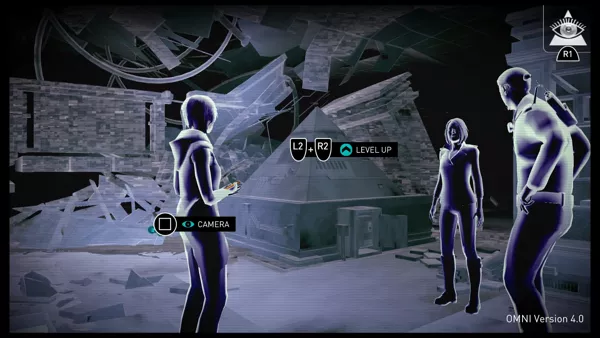
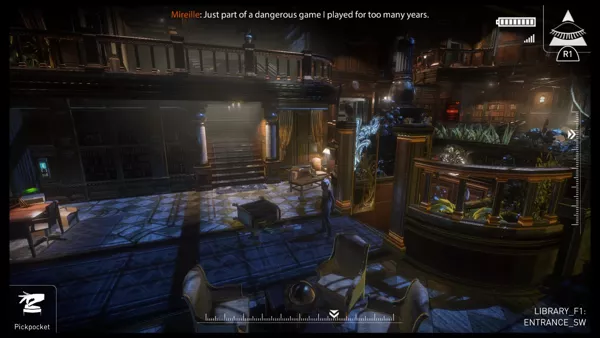
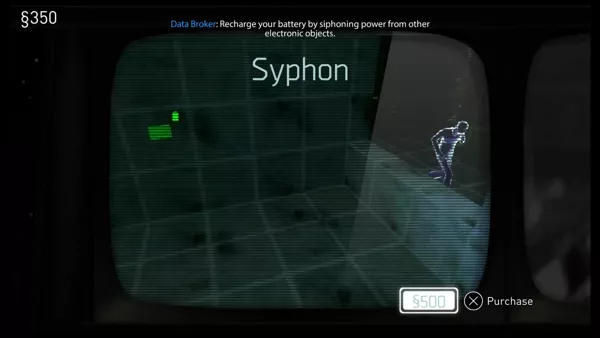
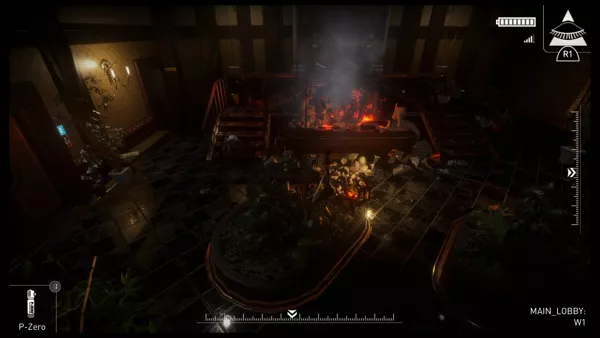
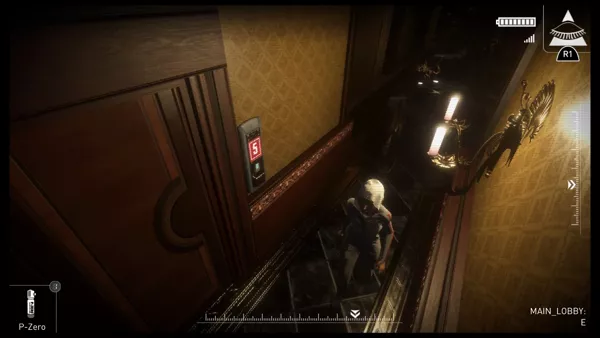
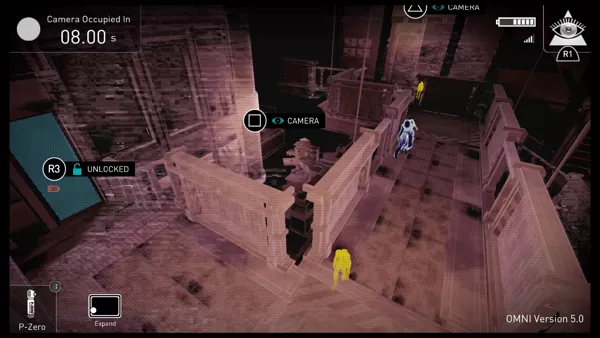
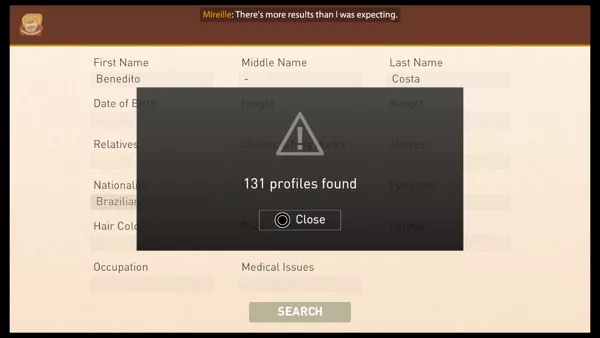
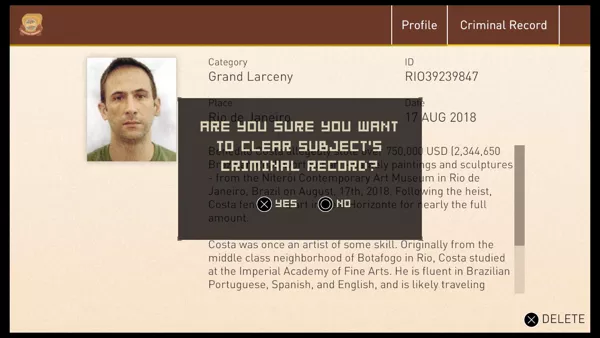
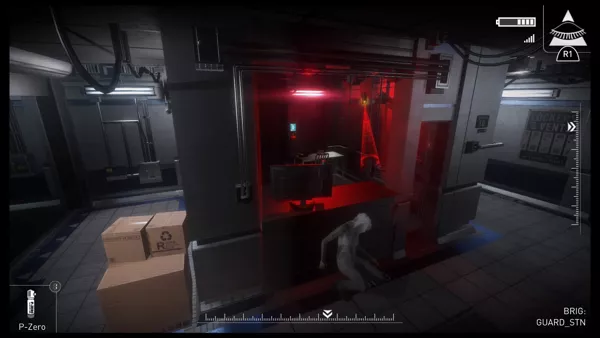
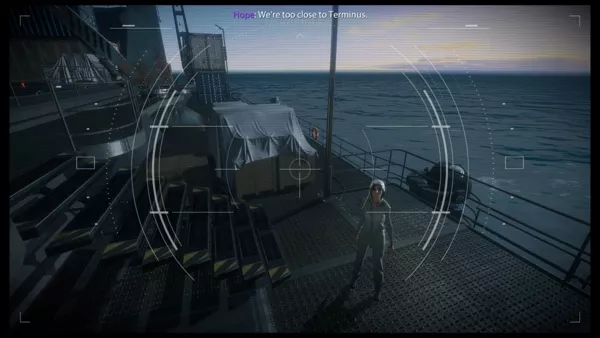
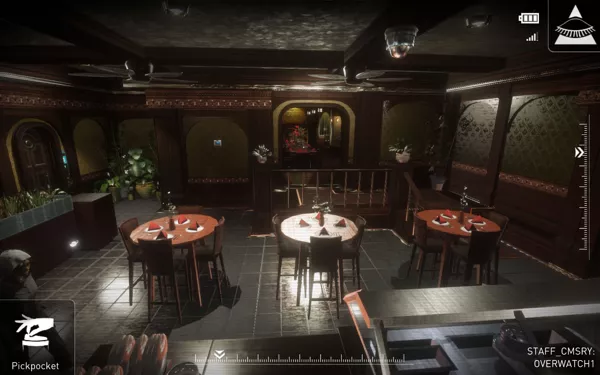
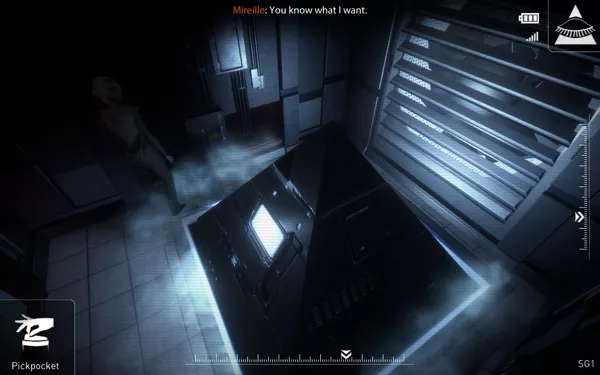
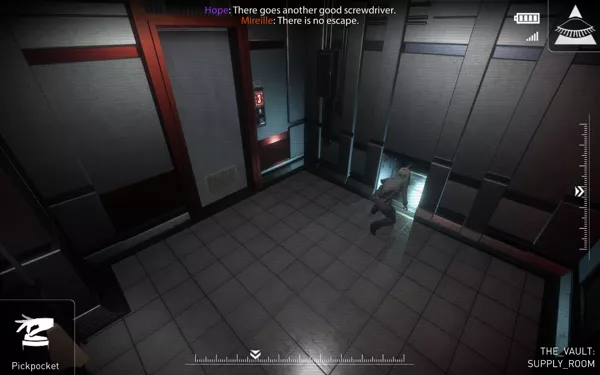
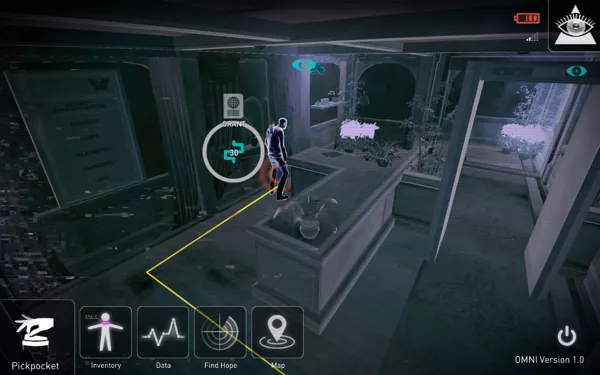
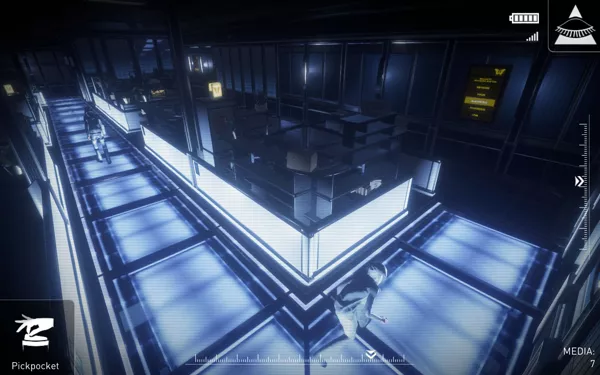
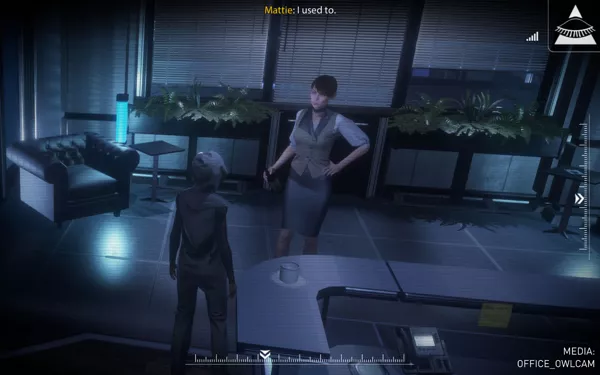
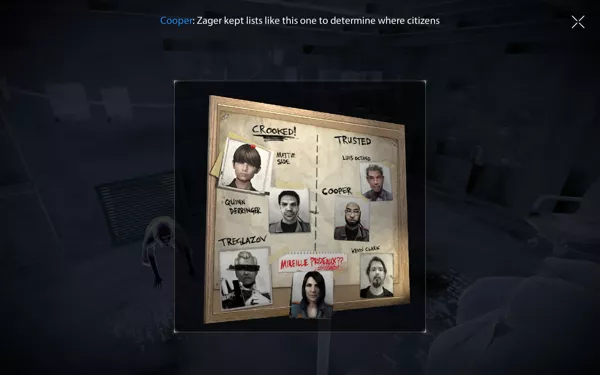
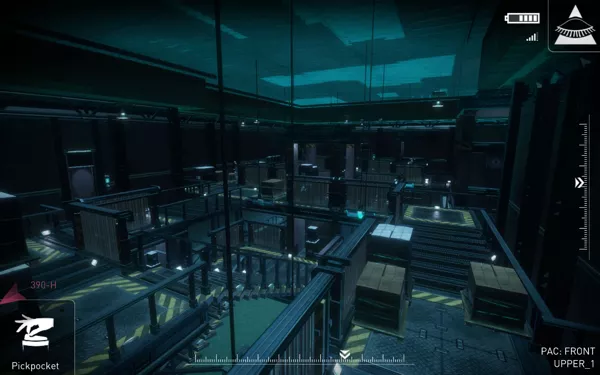
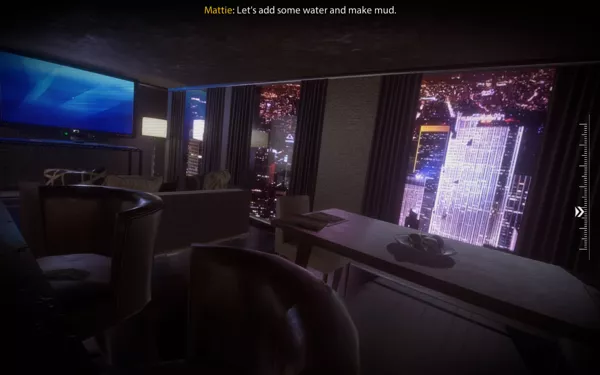
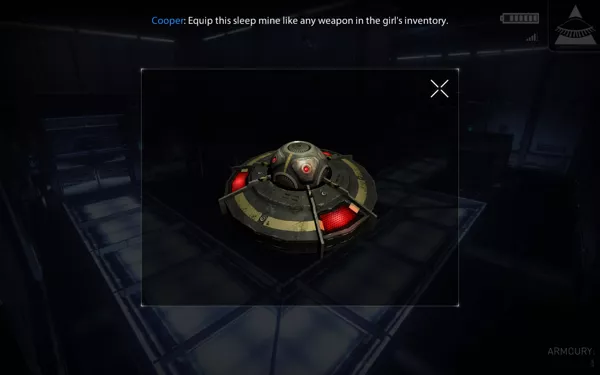
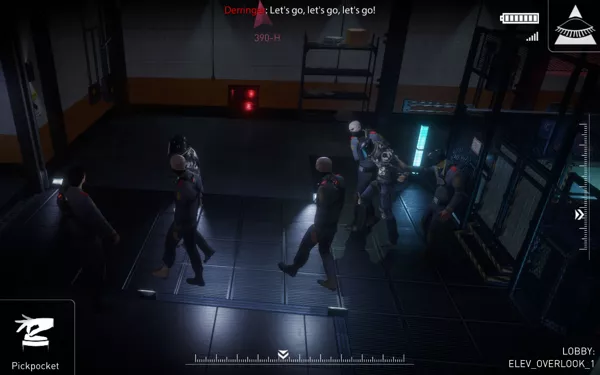
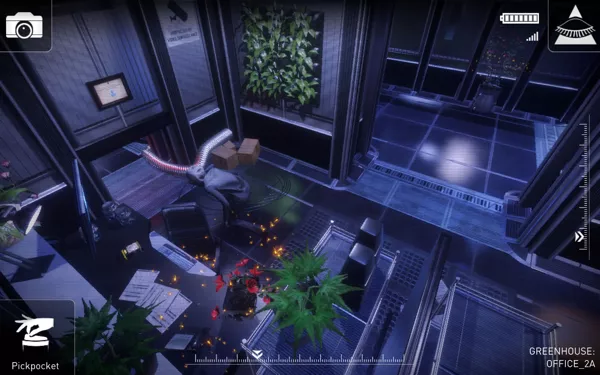
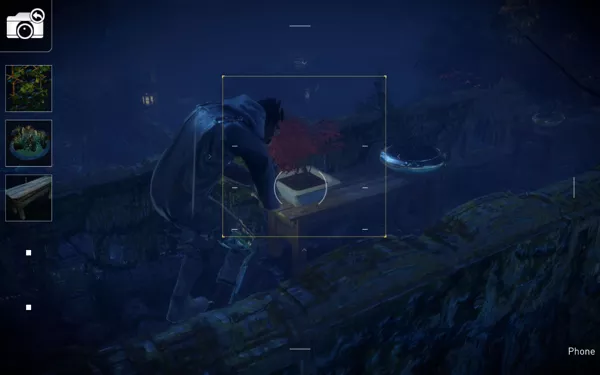
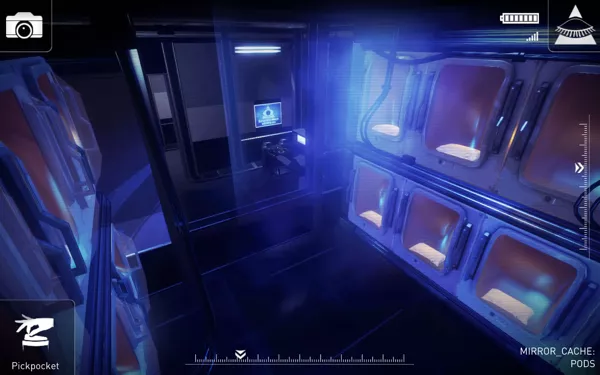
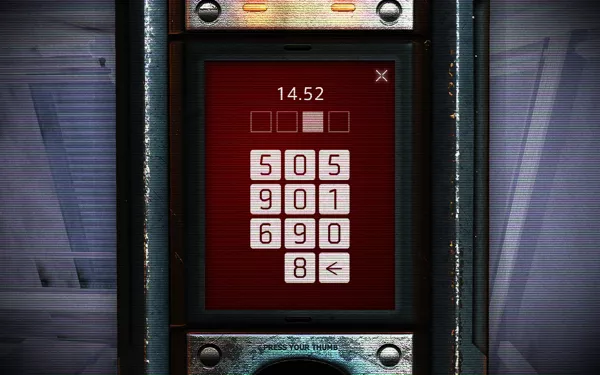
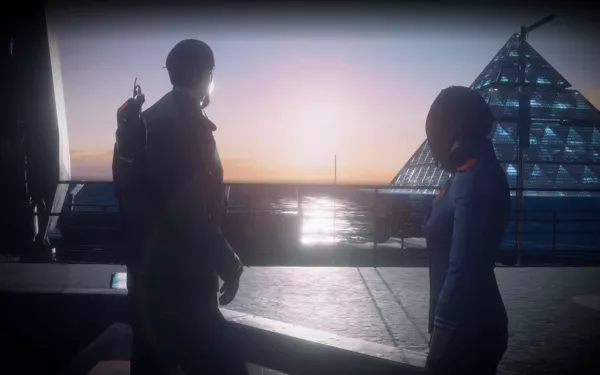
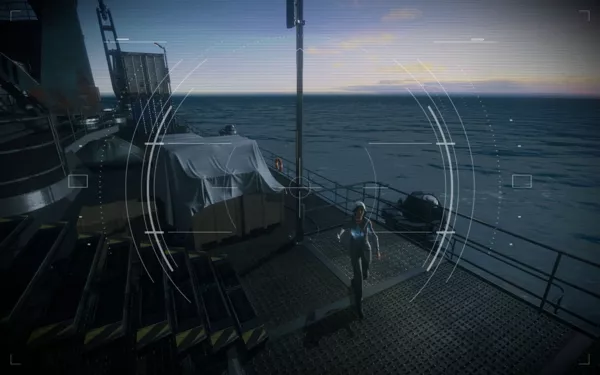
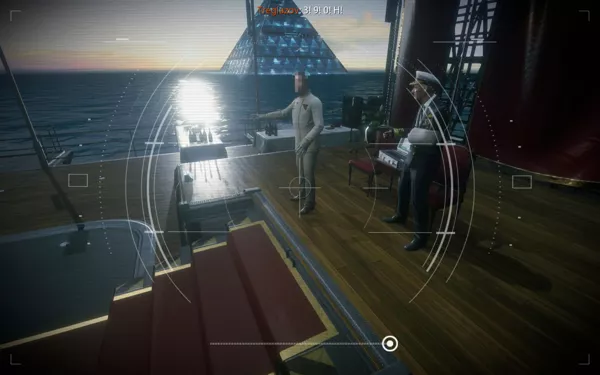
PlayStation 4 screenshots
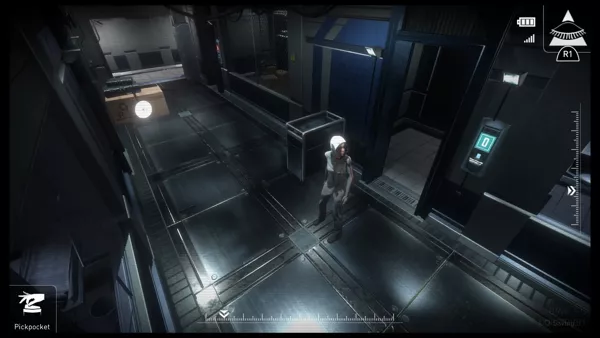
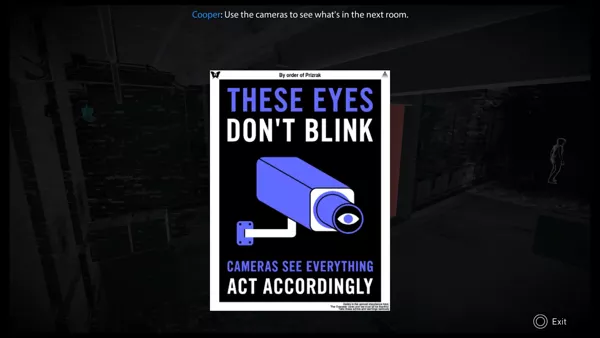
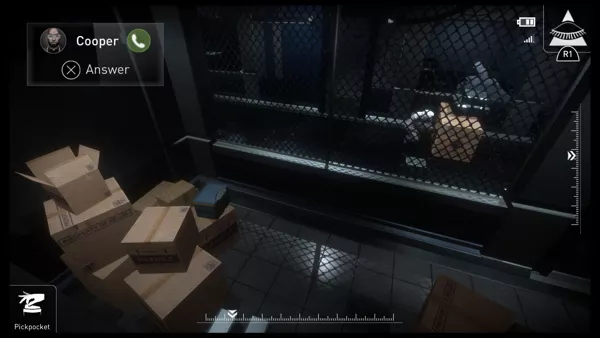
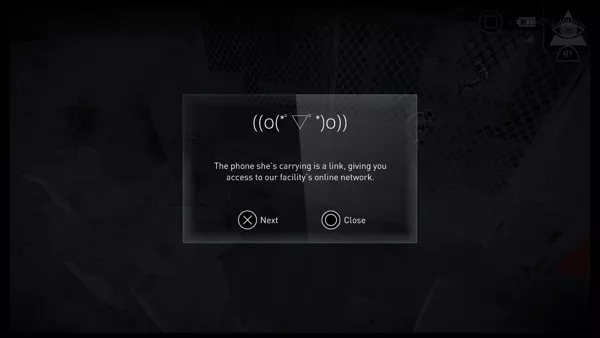
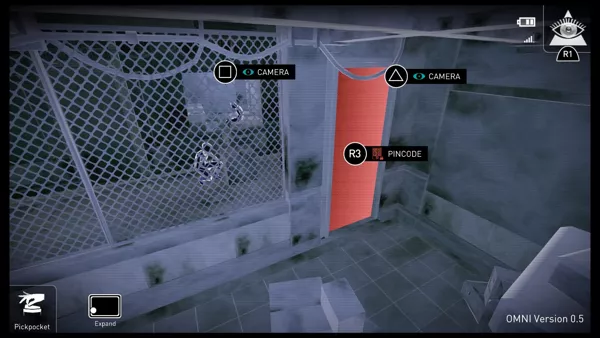
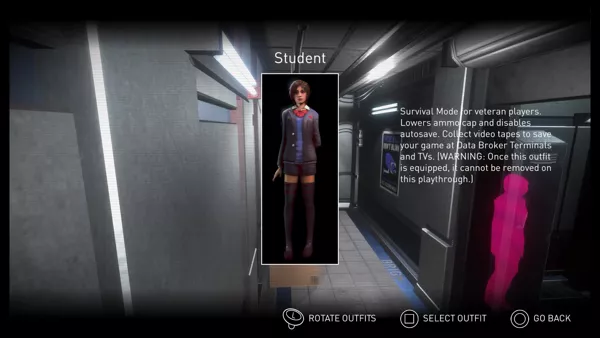
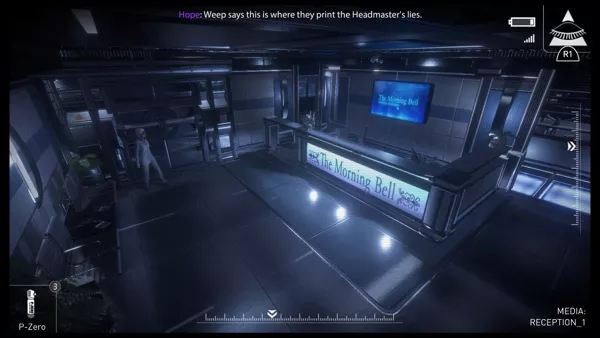
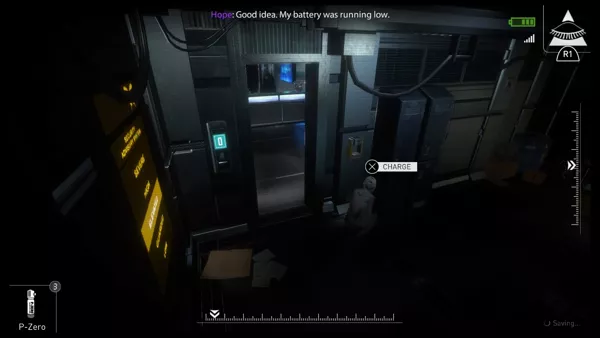
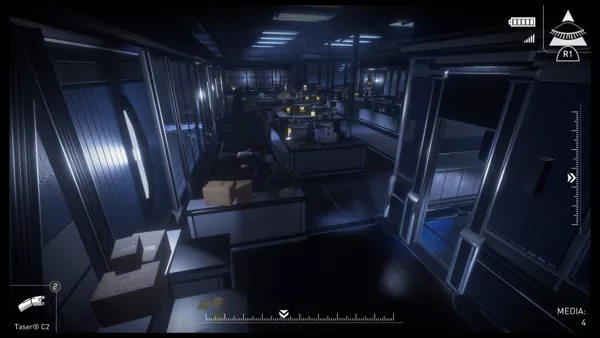
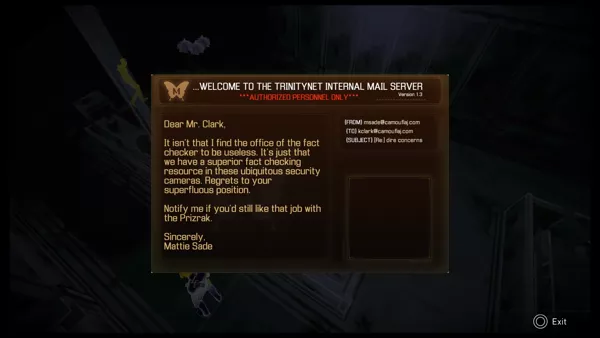
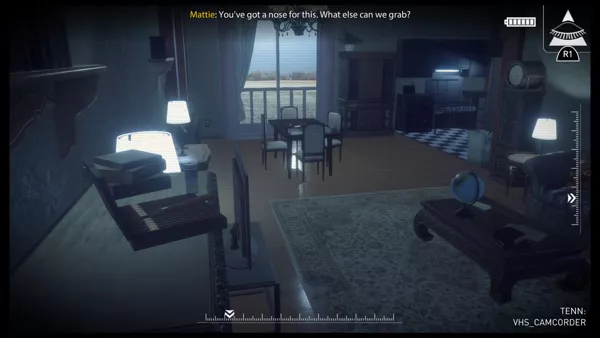
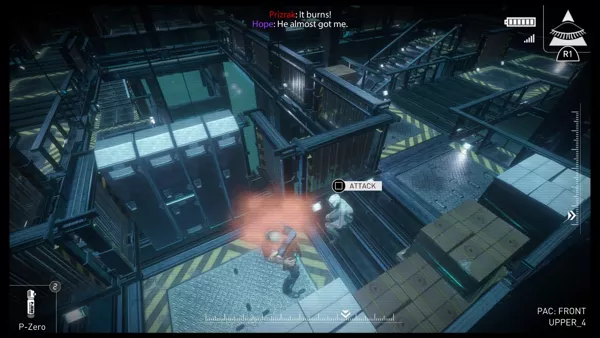
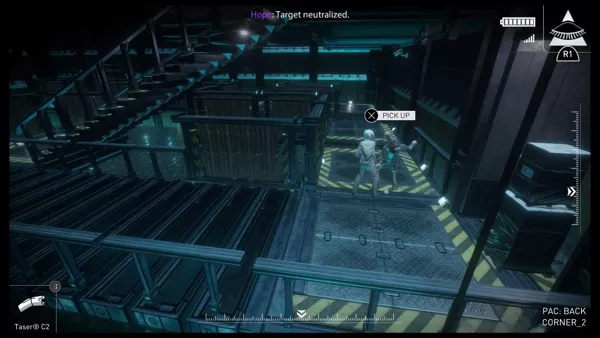
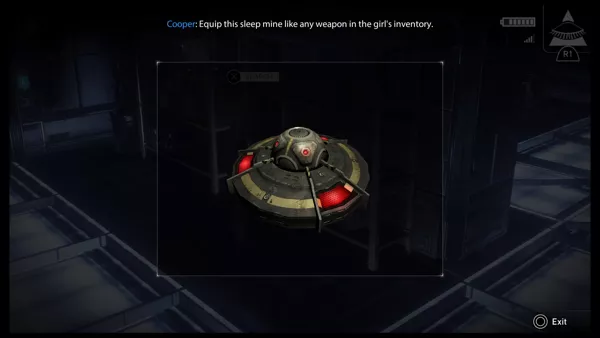
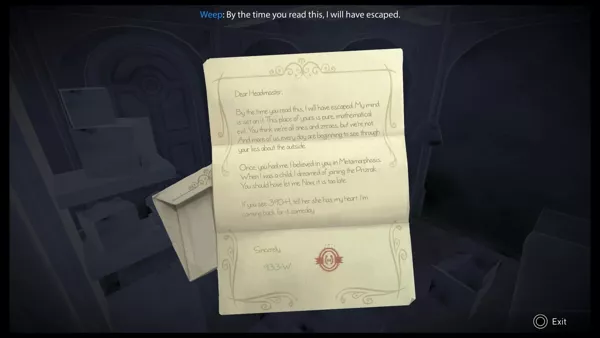
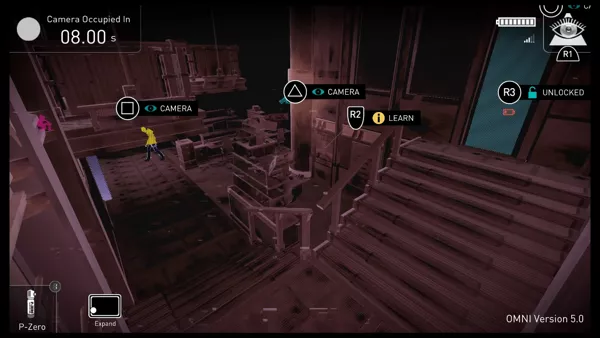
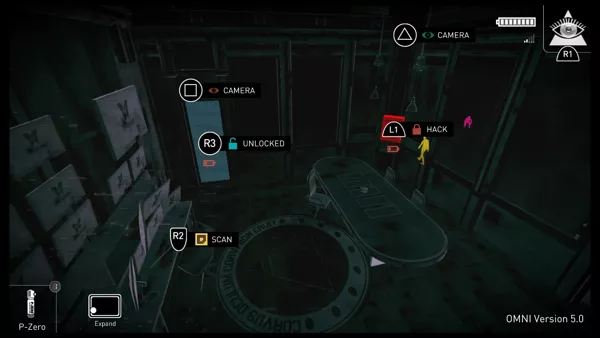
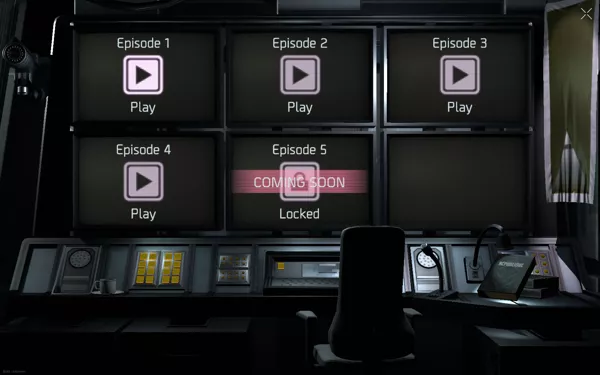
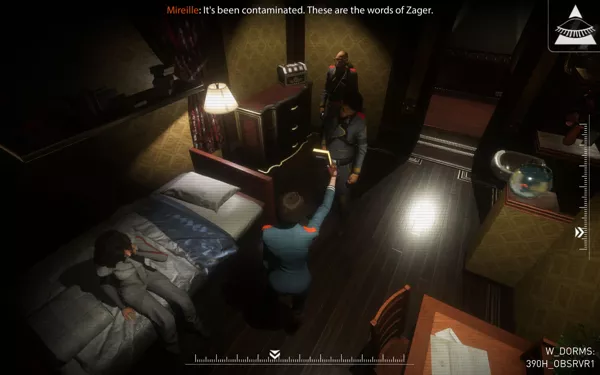
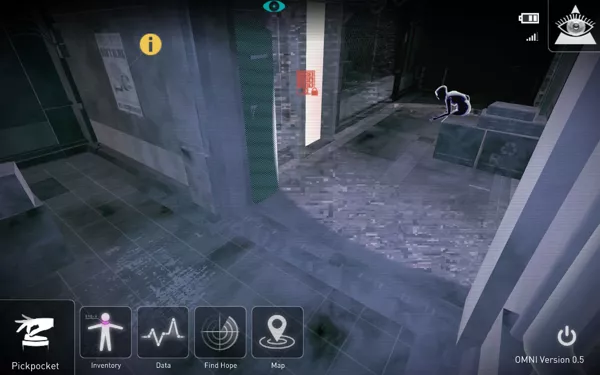
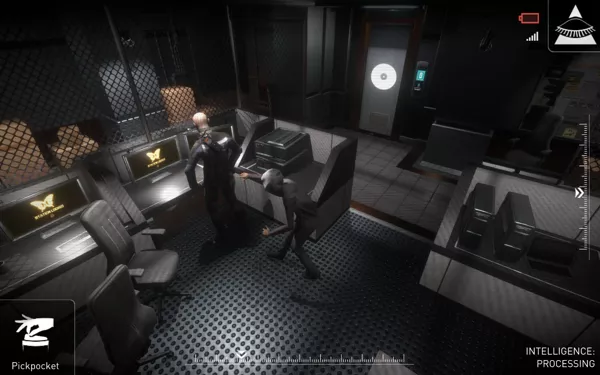
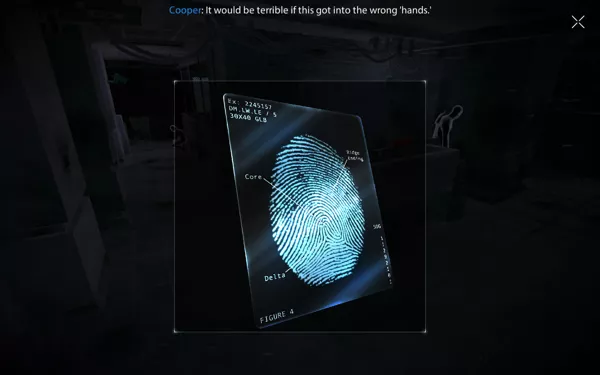
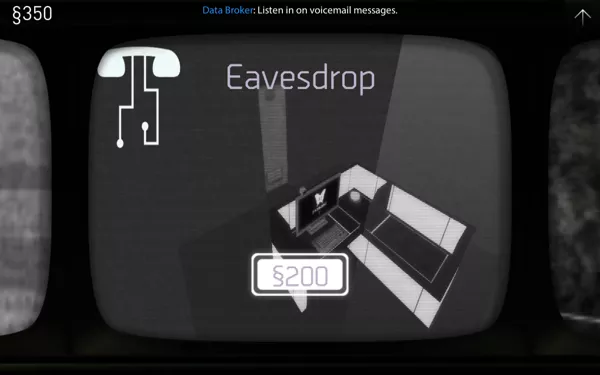
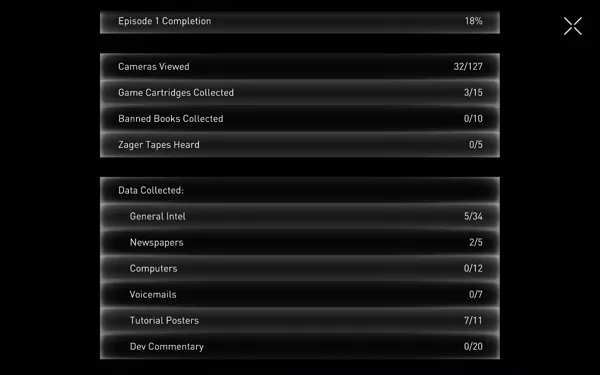
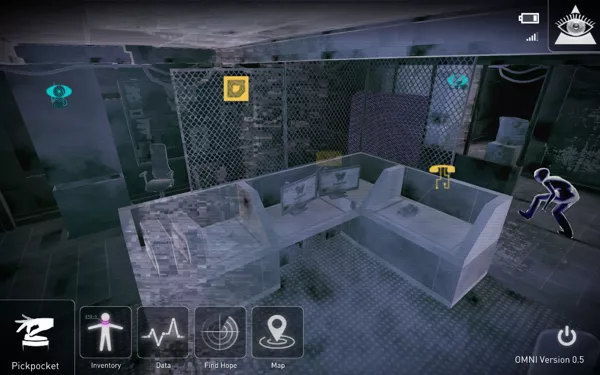
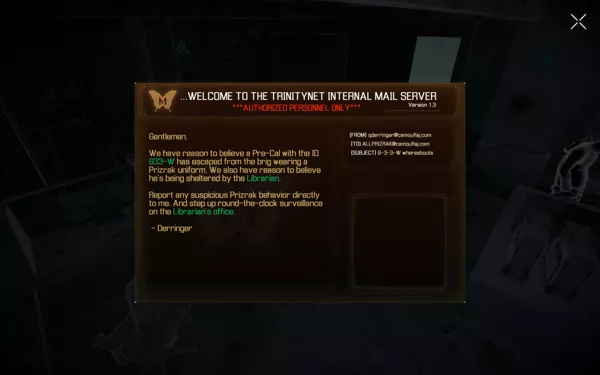
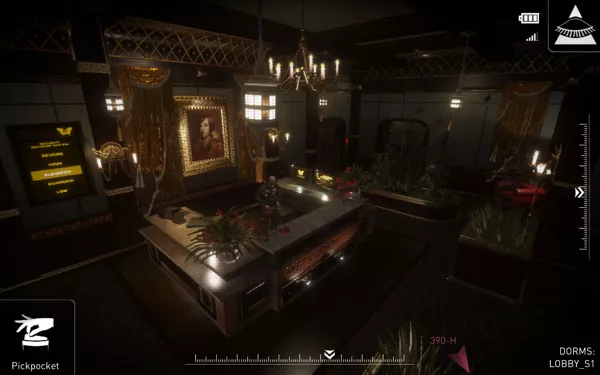
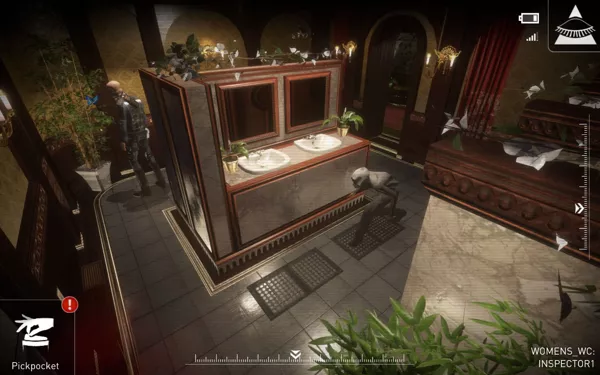
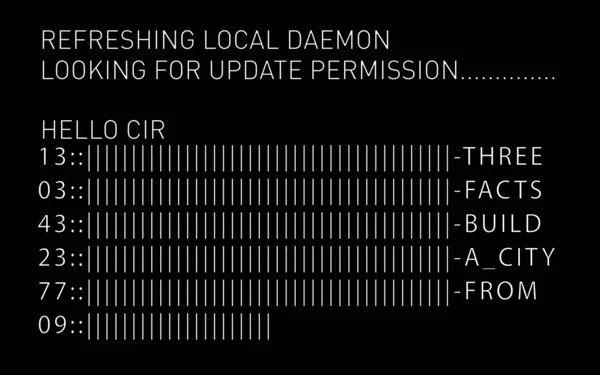
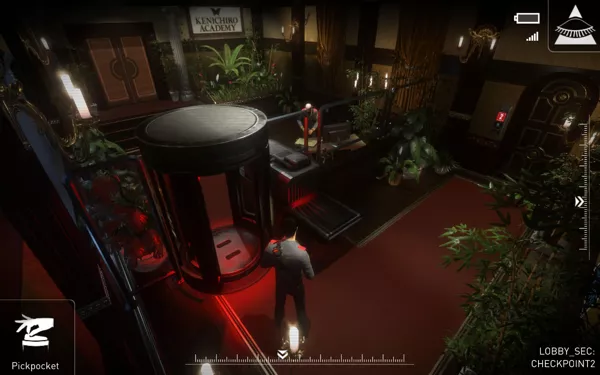
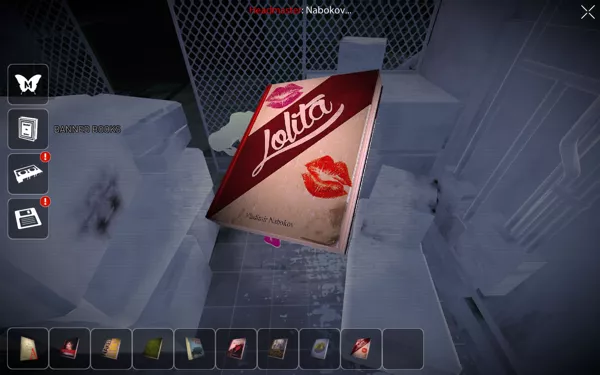
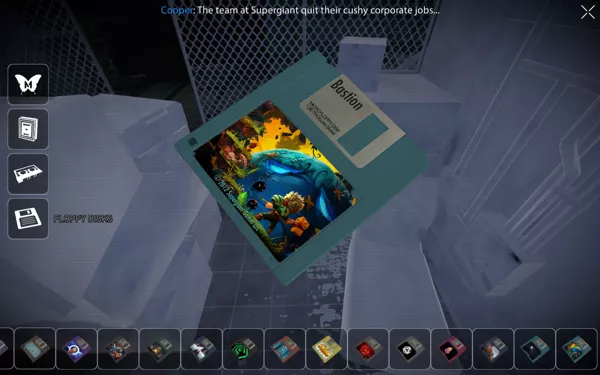
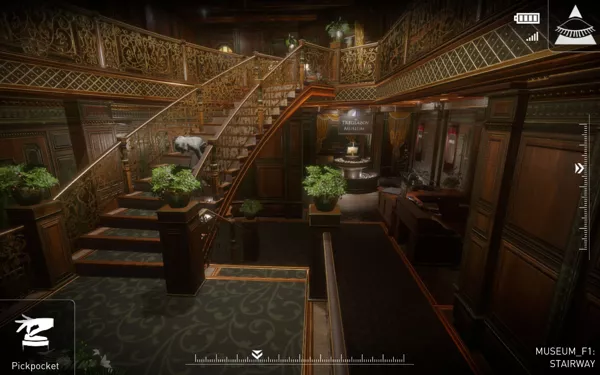
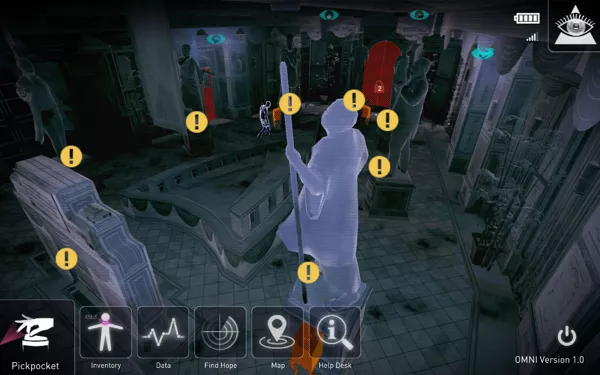
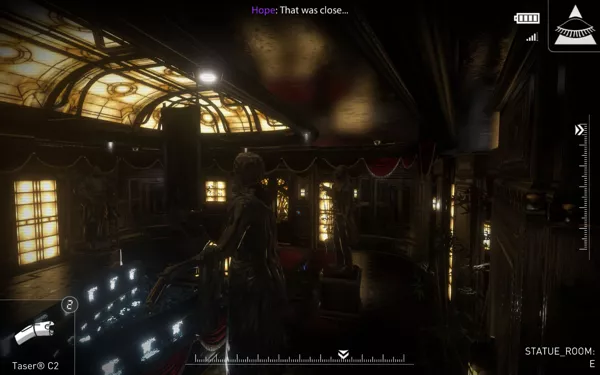
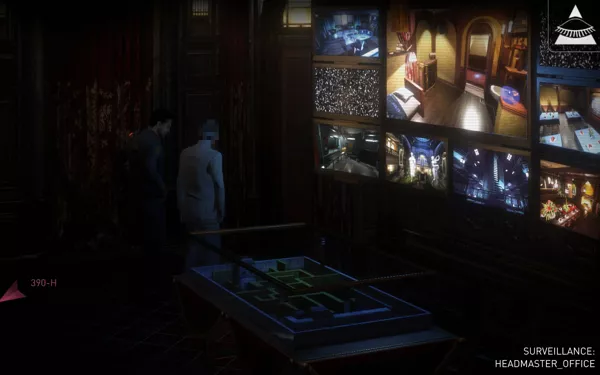
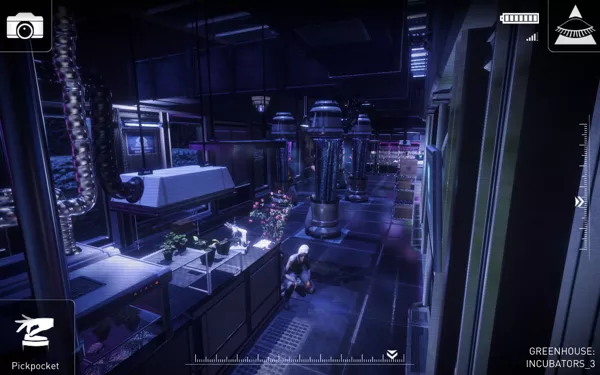
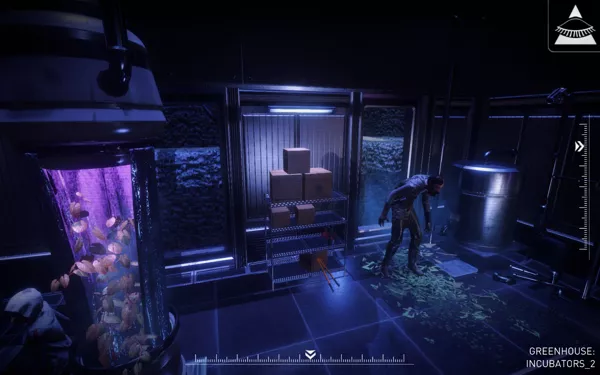
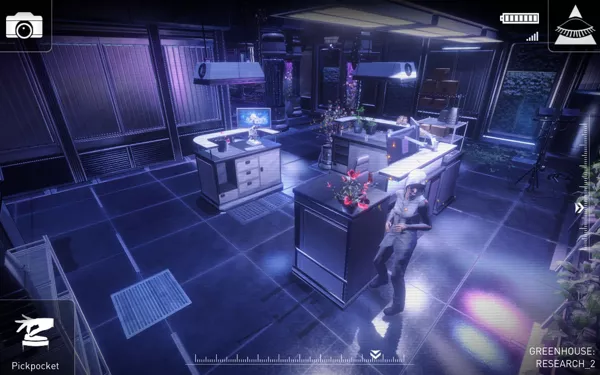
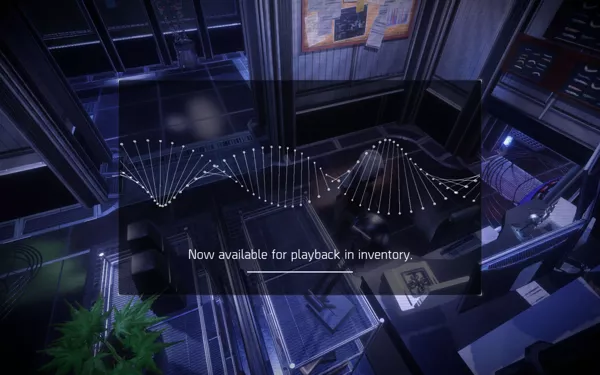
thumbnail
Episode 1 - Splash screen
thumbnail
Episode 1 - Main menu
thumbnail
Episode 1 - Gameplay controls
thumbnail
Episode 1 - Start the game by answering the call
thumbnail
Episode 1 - Hope is asking for your help
thumbnail
Episode 1 - Hope is being paid a visit by her captors
thumbnail
Episode 1 - You can scan enemy personnel
thumbnail
Episode 1 - Eye view lets you scan for interesting objects and personnel in the room
thumbnail
Episode 1 - Your captors are having a difference of opinions
thumbnail
Episode 1 - Main title
thumbnail
Episode 1 - Time to unlock her cell door
thumbnail
Episode 1 - She's leaving her cell
thumbnail
Episode 1 - Scanning various posters and propaganda leaflets
thumbnail
Episode 1 - Answer your phone to talk to Cooper when he's calling you
thumbnail
Episode 1 - Cooper sure loves to use ASCII art emoticons
thumbnail
Episode 1 - Certain gates require a code before you can open them
thumbnail
Episode 1 - Checking local newspapers
thumbnail
Episode 1 - Hiding inside the locker
thumbnail
Episode 1 - Special outfit for the hard mode
thumbnail
Episode 1 - Pickpocketing a guard
thumbnail
Episode 1 - The protagonist, Hope, here known as 390-H
thumbnail
Episode 1 - Using pepper spray to avoid getting captured
thumbnail
Episode 1 - Your smartphone needs to get recharged if you want to use it for certain advanced abilities such as unlocking the door or hacking
thumbnail
Episode 1 - Purchasing new abilities
thumbnail
Episode 1 - Floor map
thumbnail
Episode 1 - Checking the bulletin board
thumbnail
Episode 1 - Observe guard's routes so you can easily time your evasion
thumbnail
Episode 1 - That guard is blocking my way to the lobby door
thumbnail
Episode 1 - You can check the current alert level on some of the monitors around
thumbnail
Episode 1 - Selling gathered items and hacked info
thumbnail
Episode 1 - These boxes are placed here to help you get past the guard unnoticed, no doubt
thumbnail
Episode 1 - Switching cameras always distorts the image and has a bit of a waiting lag
thumbnail
Episode 1 - You can hide behind the busts, even though it doesn't look obvious
thumbnail
Episode 1 - You can listen to audio cassettes you collect on a boom box in a safe room
thumbnail
Episode 1 - In this case, cameras aren't your enemy, and you can move away from Hope to get familiar with her surrounding and guard patrols before you decide to proceed
thumbnail
Episode 1 - Passing through a small restaurant
thumbnail
Episode 1 - Solving the portrait puzzle to unlock the secret door behind the fireplace
thumbnail
Episode 1 - The place to upgrade your omni tool
thumbnail
Episode 1 - Software update complete
thumbnail
Episode 1 - You need a screwdriver to move through the vent shafts
thumbnail
Episode 1 - Cameras allow for a certain level of zooming
thumbnail
Episode 1 - Pickpocket the guards to retrieve Cooper's floppy game collection
thumbnail
Episode 1 - Running is not advised as your footsteps will attract the guards
thumbnail
Episode 1 - Cooper's office
thumbnail
Episode 1 - Passing this checkpoint will require some brainstorming
thumbnail
Episode 1 - Mireille has seized Hope's smartphone
thumbnail
Episode 1 - Mireille has other plans for Hope
thumbnail
Episode 1 - Interrogation scene
thumbnail
Episode 1 - A guard has come to take you away
thumbnail
Episode 1 - Mysterious saviour
thumbnail
Episode 2 - The story continues after a cliffhanger from the previous episode, and Hope is glad you're still with her
thumbnail
Episode 2 - Time to switch from her smartphone to room cameras again
thumbnail
Episode 2 - The interrogation room door require a code to unlock
thumbnail
Episode 2 - Watching the video showing the events that occurred while you were not watching
thumbnail
Episode 2 - This voice recording of Mireille might come in handy
thumbnail
Episode 2 - Selling gathered data
thumbnail
Episode 2 - Cooper is contacting your again
thumbnail
Episode 2 - Map of the library and its adjacent areas
thumbnail
Episode 2 - Headmaster's face is always censored, even on statues
thumbnail
Episode 2 - Some doors cannot be open this early in the game
thumbnail
Episode 2 - Reading newspapers to piece past events together
thumbnail
Episode 2 - Entering the library
thumbnail
Episode 2 - Cell rooms still let you sell data and charge your smartphone
thumbnail
Episode 2 - This episode introduces some new, more aggressive type of guards
thumbnail
Episode 2 - Purchasing new hacking skills
thumbnail
Episode 2 - On PS4 there is a big lag time when switching between cameras from different rooms
thumbnail
Episode 2 - Now you can see guards even through walls
thumbnail
Episode 2 - Hacking a guard info reveals the things he is carrying as well
thumbnail
Episode 2 - Hacking the phone to lure the guard away from his post
thumbnail
Episode 2 - Attacking a guard on the first floor
thumbnail
Episode 2 - The floor above the museum
thumbnail
Episode 2 - Answer incorrectly three times to sound the alarm
thumbnail
Episode 2 - Gotta find a way to sneak past the guard on the stairs
thumbnail
Episode 2 - You can hide among the plants
thumbnail
Episode 2 - Scan the statues of various dictators to solve the puzzle and unlock the door
thumbnail
Episode 2 - Upgrading your tool to version 2.0
thumbnail
Episode 2 - Found my way to headmaster's office
thumbnail
Episode 2 - Zooming in with the camera to reveal more details
thumbnail
Episode 2 - Derringer and Mireille don't get along
thumbnail
Episode 2 - Acquiring headmaster's fingerprint
thumbnail
Episode 2 - Hope found the librarian
thumbnail
Episode 2 - You can find out what happened to librarian alone, or watch it together with Hope
thumbnail
Episode 2 - Hope's letter to librarian
thumbnail
Episode 2 - No secret passages in the bathroom, but it does look cosy
thumbnail
Episode 2 - Hiding in the locker
thumbnail
Episode 2 - The secret room behind the bookcase
thumbnail
Episode 2 - Observing the guard's patrol route
thumbnail
Episode 2 - Exploring the Treglazov museum
thumbnail
Episode 2 - Armored guards are tougher to deal with, so it's better to lay low for a while
thumbnail
Episode 2 - Tasers can be found in locked cabinets around the compound
thumbnail
Episode 2 - Laser beam puzzle
thumbnail
Episode 2 - Nobody seems to be minding the archives room
thumbnail
Episode 2 - A 3D printer
thumbnail
Episode 2 - Fixing the power to the 3D printer... that's gotta be some serious hi-tech prototype to require so much power
thumbnail
Episode 2 - Creating a key with a 3D printer
thumbnail
Episode 2 - No time for piano lessons
thumbnail
Episode 2 - Librarian and the headmaster didn't really see things the same way
thumbnail
Episode 2 - An elevator in sight, the exit is here
thumbnail
Episode 2 - Upper most floor must mean the surface... sound logic
thumbnail
Episode 2 - Oops, wrong floor
thumbnail
Episode 3 - Mireille is heading for surface
thumbnail
Episode 3 - Hope earned herself a couple of battle scars
thumbnail
Episode 3 - Will need to find me a keycard to go down there
thumbnail
Episode 3 - Listening to an interview for the local newspapers
thumbnail
Episode 3 - Found another audio cassette
thumbnail
Episode 3 - Hiding in plain sight, but it works
thumbnail
Episode 3 - Checking the guard's trajectory
thumbnail
Episode 3 - New posters offer new tips
thumbnail
Episode 3 - Sneaking past the guard
thumbnail
Episode 3 - Hack open small boxes for useful items
thumbnail
Episode 3 - This episode adds two new unlockable skills
thumbnail
Episode 3 - New skill unlocked
thumbnail
Episode 3 - Hacking electronics to distract the guard
thumbnail
Episode 3 - Deactivating the laser fence to pass through the gate checkpoint
thumbnail
Episode 3 - Reaching the Terminus
thumbnail
Episode 3 - Terminus area doesn't seem to hold any guards
thumbnail
Episode 3 - The Morning Bell reception area
thumbnail
Episode 3 - Charging the smartphone batteries
thumbnail
Episode 3 - Taking out one of the guards at The Morning Bell workplace
thumbnail
Episode 3 - Hacking emails
thumbnail
Episode 3 - Disabled guards will leave their items on the ground which can be collected
thumbnail
Episode 3 - Depending on the guard type, you will need a different type of weapon to take them out
thumbnail
Episode 3 - Eavesdropping on the phone conversations
thumbnail
Episode 3 - Matilda seems to be sleeping, getting her keycard should be easy
thumbnail
Episode 3 - Scanning Mattie's office
thumbnail
Episode 3 - Episode completion stats
thumbnail
Episode 3 - Unscrewing the screws holding the shaft grate
thumbnail
Episode 3 - Found another Zager hideout
thumbnail
Episode 3 - Zager's board of friends and foes
thumbnail
Episode 3 - Apparently, miss Sade isn't in a hostile mood
thumbnail
Episode 3 - Entering Atlantic server wing
thumbnail
Episode 3 - The map is now showing guards and types
thumbnail
Episode 3 - Managed to react in the nick of time
thumbnail
Episode 3 - Server activation
thumbnail
Episode 3 - Selecting a Prizmak to spy on
thumbnail
Episode 3 - Looking for clues for the next scoop
thumbnail
Episode 3 - Publishing an article against one of the guards
thumbnail
Episode 3 - With upgraded software you can gain access to Mireille's room which was inaccessible in earlier episodes
thumbnail
Episode 3 - Pacific server area
thumbnail
Episode 3 - You can only carry up to three items of same type
thumbnail
Episode 3 - Disabling a guard with a pepper spray
thumbnail
Episode 3 - Spying on one of the Prizmak guards from China
thumbnail
Episode 3 - Target neutralized
thumbnail
Episode 3 - Gas mines let you take out fully armored guards with helmets impervious to both tasers and pepper sprays
thumbnail
Episode 3 - Reading Weep's farewell letter
thumbnail
Episode 3 - No time to drink coffee
thumbnail
Episode 3 - Checking a video recording showing how you escaped at the beginning of the episode
thumbnail
Episode 3 - Gas mines are set, now I just have to wait for them to continue patrolling down their routes
thumbnail
Episode 3 - The two guards I've set up are being taken care of
thumbnail
Episode 3 - Comic referencing D4 game
thumbnail
Episode 4 - Finally reaching the surface
thumbnail
Episode 4 - The surface seems to feature a rather lush environment
thumbnail
Episode 4 - Closing the silo doors behind you
thumbnail
Episode 4 - Hope's camera lets you see what she sees
thumbnail
Episode 4 - Reaching an old looking castle
thumbnail
Episode 4 - Crossing the bridge
thumbnail
Episode 4 - These gargoyles look ominous
thumbnail
Episode 4 - Good thing I got the key with me
thumbnail
Episode 4 - Meeting Mammoth
thumbnail
Episode 4 - The map and omni tool is not available on the surface
thumbnail
Episode 4 - Your helper sure has a tack for rhymes
thumbnail
Episode 4 - Hope can use her camera to take photos of objects to find out more info as a replacement for unavailable omni tool during this episode
thumbnail
Episode 4 - Whatever is powering these TVs outside, I wonder
thumbnail
Episode 4 - Entering pin codes is tricky and timed operation
thumbnail
Episode 4 - Sneaking through the cemetery... Mammoth has exceptionally good hearing, so whatever you do, don't run
thumbnail
Episode 4 - Checking the story behind one of the tombstones
thumbnail
Episode 4 - Being caught by Mammoth will respawn you at the last checkpoint
thumbnail
Episode 4 - Watching short documentaries on TVs scattered around the area
thumbnail
Episode 4 - This area has been dedicated to plants and their study
thumbnail
Episode 4 - Exploring the area from Hope's point of view through her camera
thumbnail
Episode 4 - Piecing the events that took place in and around this lab
thumbnail
Episode 4 - Watch out for bees, they'll give away your position
thumbnail
Episode 4 - Pickpocket Mammoth to retrieve the shears
thumbnail
Episode 4 - Crawling through the ducts is a good way to escape Mammoth who cannot follow you through
thumbnail
Episode 4 - Cutting the chains holding mausoleum door closed
thumbnail
Episode 4 - This tunnel can lead to my escape, but I got to find a way to drain all this water
thumbnail
Episode 4 - Fixing the gate mechanism
thumbnail
Episode 4 - The maze garden
thumbnail
Episode 4 - Birds will startle you if you get too close
thumbnail
Episode 4 - Playing hide and seek with the giant
thumbnail
Episode 4 - Mammoth is quick on feet, you cannot simply outrun it
thumbnail
Episode 4 - Assembling the fake playback to trick the giant into opening the door for you
thumbnail
Episode 4 - The Mammoth is trying to get it, but the door seem to be holding
thumbnail
Episode 4 - Found the pin code to the door
thumbnail
Episode 4 - Resequencer lets you listen to messages encoded in DNA samples
thumbnail
Episode 4 - Spying on Mireille and Zager
thumbnail
Episode 4 - Everybody's hiding from Mammoth
thumbnail
Episode 4 - For some reason, birds don't seem to react to Mammoth's presence
thumbnail
Episode 4 - Glowing logos mark the crawling spaces to valves
thumbnail
Episode 4 - Traversing the maze with giant in it
thumbnail
Episode 4 - Closing one of the valves
thumbnail
Episode 4 - Ammash and Perets disagreeing about a committing suicide
thumbnail
Episode 4 - Second valve is just behind the corner
thumbnail
Episode 4 - That's two down, two to go
thumbnail
Episode 4 - Mammoth can't reach you through the bars
thumbnail
Episode 4 - No, that's not spooky at all
thumbnail
Episode 4 - Found the safe room
thumbnail
Episode 4 - Finding out more about Weep
thumbnail
Episode 4 - Mammoth got stuck, but for how long...
thumbnail
Episode 4 - Let's hope this cave leads to exit
thumbnail
Episode 5 - Silly question with all the blurry pixels
thumbnail
Episode 5 - Caught by the headmaster and his second in command lackey
thumbnail
Episode 5 - Headmaster cannot be scanned with an omni tool
thumbnail
Episode 5 - Hope is no longer needed, as it were
thumbnail
Episode 5 - Zager interrupting your execution
thumbnail
Episode 5 - It's time to leave headmaster's office
thumbnail
Episode 5 - Everything is crumbling down
thumbnail
Episode 5 - With guards in disarray, I may be able to escape to safety without further distractions
thumbnail
Episode 5 - The floor gave up beneath your feet
thumbnail
Episode 5 - Close up on Mireille, who is no longer your enemy
thumbnail
Episode 5 - Teaming up with Zager and Mireille
thumbnail
Episode 5 - Hoping you'll have more luck than Weep
thumbnail
Episode 5 - Selecting how you wish to handle the things from now on
thumbnail
Episode 5 - Upgrading your omni tool to level 5
thumbnail
Episode 5 - Leaving the library
thumbnail
Episode 5 - Searching the locker
thumbnail
Episode 5 - Selling data
thumbnail
Episode 5 - New syphon feature lets you recharge your smartphone by siphoning power from electrical objects
thumbnail
Episode 5 - Headmaster's statue didn't survive the rebellion
thumbnail
Episode 5 - You can now access level 5 areas
thumbnail
Episode 5 - These new cameras can spot you, so stay out of sight
thumbnail
Episode 5 - Cameras with red laser view can only be taken over for a short amount of time
thumbnail
Episode 5 - Hacking the safe in the Derringer's office
thumbnail
Episode 5 - Seems like Mattie and Derringer had a thing for a while
thumbnail
Episode 5 - Make sure to point the enemy camera away from Hope before controlling her
thumbnail
Episode 5 - Got to narrow the search somehow
thumbnail
Episode 5 - Prizraks will throw a gas grenades at you if they spot you
thumbnail
Episode 5 - Erasing the criminal record of one of the guards
thumbnail
Episode 5 - Locking the door behind you will effectively keep the guards away from you
thumbnail
Episode 5 - Watch out where the enemy cameras are facing if you wish to pass by undetected
thumbnail
Episode 5 - Siphoning the power for your smartphone
thumbnail
Episode 5 - Logging into the FBI's database
thumbnail
Episode 5 - Delaying the guard by hacking his walkie-talkie
thumbnail
Episode 5 - Accessing database
thumbnail
Episode 5 - This guard cannot be disabled, so make sure you're off his path
thumbnail
Episode 5 - By scanning objects in the room you can find out more info about the guard you are looking for
thumbnail
Episode 5 - Destroying the computer's hard drive
thumbnail
Episode 5 - Mireille's asking you for a favour to delete her criminal record
thumbnail
Episode 5 - So much destruction
thumbnail
Episode 5 - Mireille is addressing the guards you helped by erasing their false charges
thumbnail
Episode 5 - Heading toward the Terminus computer
thumbnail
Episode 5 - Going up
thumbnail
Episode 5 - A bridge to Terminus server
thumbnail
Episode 5 - Shutting down the cooling system should do the trick
thumbnail
Episode 5 - Inside Terminus
thumbnail
Episode 5 - Opening secret files
thumbnail
Episode 5 - Taking down the satellites
thumbnail
Episode 5 - Finding out more about Hope
thumbnail
Episode 5 - Commandeering one of the heli-drones
thumbnail
Episode 5 - Everybody needs Hope... but who will she choose

Windows screenshots

thumbnail
Main menu
thumbnail
Episode selection
thumbnail
Episode 1: Hope asks for your help right from the start.
thumbnail
Episode 1: using OMNI View you can read the passport of any character.
thumbnail
Episode 1: Hope has been caught with a modified manifesto.
thumbnail
Episode 1: title screen
thumbnail
Episode 1: much of the background story and the functioning of the state and the facility is revealed through intel such as newspapers.
thumbnail
Episode 1: a typical OMNI View screen. The functions are available at the bottom. Everything has been greyed out with bright icons.
thumbnail
Episode 1: I'm quite far from Hope and the signal is already slightly distorted, but there are still plenty of icons.
thumbnail
Episode 1: the same location, now using the regular view, sneaking past a guard.
thumbnail
Episode 1: you can collect these tutorial posters.
thumbnail
Episode 1: map view, there are often multiple floors
thumbnail
Episode 1: Hope disables a guard using her pepper spray.
thumbnail
Episode 1: stealing from a guard.
thumbnail
Episode 1: fingerprints can be used to doors that would otherwise remain closed.
thumbnail
Episode 1: 200 credits are required to buy the eavesdrop ability from the Data Broker.
thumbnail
Episode 1: game statistics
thumbnail
Episode 1: more sneaking. The battery is almost out, so advanced hacking is not possible until a recharge station is found.
thumbnail
Episode 1: intercepting an e-mail message.
thumbnail
Episode 1: you can use the cameras to scout, such as the movement pattern of this guard.
thumbnail
Episode 1: sneaking in a bathroom.
thumbnail
Episode 1: a dining room
thumbnail
Episode 1: this is used to upgrade the OMNI software.
thumbnail
Episode 1: an upgrade in progress
thumbnail
Episode 1: you can open vents and squeeze through, but only if you have a screwdriver.
thumbnail
Episode 1: I have hacked the guard's patrol pattern, briefly displayed as a yellow line.
thumbnail
Episode 1: this will be a tough spot to pass.
thumbnail
Episode 1: one of the forbidden books
thumbnail
Episode 1: Cooper provides commentary about every indie game you collect.
thumbnail
Episode 1: Hope has been caught.
thumbnail
Episode 1: in an interrogation room
thumbnail
Episode 1: Zager's secret hideout
thumbnail
Episode 1: one of the rooms you can only access after completing the episode first.
thumbnail
Episode 2: X-Ray is a new ability in the second episode.
thumbnail
Episode 2: the library and the museum are introduced early on.
thumbnail
Episode 2: Hope is hiding, you should take a look first before you send her somewhere.
thumbnail
Episode 2: answer the questions about the Overseer to retrieve his PIN code.
thumbnail
Episode 2: a view of the museum
thumbnail
Episode 2: there is a lot of information to review here. Notice the helpdesk button - a new element for this episode.
thumbnail
Episode 2: a room with statues where you need to solve a puzzle.
thumbnail
Episode 2: The Overseer and Derringer in an important control room. The face of the first one is always pixelated on camera.
thumbnail
Episode 2: lasers are introduced in the archive.
thumbnail
Episode 2: Hope in the Librarian's office
thumbnail
Episode 2: a first - the game asks you if you want to watch the footage alone or together.
thumbnail
Episode 2: the blueprint of a key
thumbnail
Episode 2: this door is level 3, so you cannot open it in the second episode.
thumbnail
Episode 2: a machine has been activated.
thumbnail
Episode 2: rotate to reconstruct the key using the blueprint.
thumbnail
Episode 2: an encounter with Derringer
thumbnail
Episode 2: scan items to learn more about the Overseer.
thumbnail
Episode 3: every episode starts with a phone call, as you access the local network through Hope's phone.
thumbnail
Episode 3: the elevator that will take you to the surface if you can get rid of the guards.
thumbnail
Episode 3: new tutorial posters
thumbnail
Episode 3: catch up by reading articles.
thumbnail
Episode 3: the portraits are those of people involved with the game and in this episode they are credited separately for the first time.
thumbnail
Episode 3: this area has two body scanners you need to pass, so it will require some creativity.
thumbnail
Episode 3: keep the different types of Prizrak guards in mind.
thumbnail
Episode 3: Delay, the new ability for this episode.
thumbnail
Episode 3: the Terminus in a gigantic room
thumbnail
Episode 3: the Omni View shows a new icon for the Delay ability.
thumbnail
Episode 3: Hope sneaking around.
thumbnail
Episode 3: a conversation with Mattie
thumbnail
Episode 3: one of Zager's lists
thumbnail
Episode 3: a new Zager room in this episode
thumbnail
Episode 3: you can now hack into computers worldwide and take over their cameras.
thumbnail
Episode 3: gather evidence and then created fabricated stories.
thumbnail
Episode 3: a large room with lots of guards
thumbnail
Episode 3: looking through the camera of an apartment in Shenzhen, China.
thumbnail
Episode 3: the sleep mine, a new item for this episode.
thumbnail
Episode 3: using the Ping ability you can also review the colour-coded weaknesses of the guards.
thumbnail
Episode 3: Derringer gets rid of corrupted guards.
thumbnail
Episode 3: Cooper, another helpful voice
thumbnail
Episode 3: Hope goes up and feels rain for the first time.
thumbnail
Episode 4: something is wrong with the OMNI View interface in this episode and most of the functions won't be available.
thumbnail
Episode 4: this is the entrance where Hope reached the surface.
thumbnail
Episode 4: Hope still has got her key she made with the 3D printer.
thumbnail
Episode 4: there are seven televisions to discover.
thumbnail
Episode 4: the new photograph mechanic in the interface. Notice how the 'map' button is broken.
thumbnail
Episode 4: watching a short broadcast on a TV.
thumbnail
Episode 4: Hope inside one of the labs
thumbnail
Episode 4: Mammoth arrives.
thumbnail
Episode 4: Hope gets swarmed with bees, so Mammoth will be there soon.
thumbnail
Episode 4: it takes another device to turn the petri dishes in something you can use.
thumbnail
Episode 4: sneaking.
thumbnail
Episode 4: outside, watching how Mammoth takes care of plants.
thumbnail
Episode 4: inside a new lab
thumbnail
Episode 4: a room where Pre-Cals or Mirrors slept.
thumbnail
Episode 4: a tricky sequence where you have to input a code.
thumbnail
Episode 4: even as a statue the Overseer's face is scrambled. This is hope in the hedge maze.
thumbnail
Episode 4: you can track your progress for the valves in this central room.
thumbnail
Episode 4: one of the four valves you need to locate.
thumbnail
Episode 5: Hope is taken to the Overseer's control room.
thumbnail
Episode 5: a meeting where the strategy is determined.
thumbnail
Episode 5: a familiar location, but now in disarray.
thumbnail
Episode 5: Syphon is one of the two new abilities available at the Data Broker.
thumbnail
Episode 5: these are the new types of icons used to show where you can syphon power.
thumbnail
Episode 5: even using the regular view Hope is now highlighted in pink when she is out of view.
thumbnail
Episode 5: the view through a hostile camera, with thirteen seconds remaining as soon as Hope enter the screen.
thumbnail
Episode 5: one of the new locations for this episode
thumbnail
Episode 5: collect information and piece together the identity.
thumbnail
Episode 5: after finding the correct person you can read and delete their fictitious criminal record.
thumbnail
Episode 5: to the left you can see the red beam hostile cameras use. Here Hope is degaussing a computer.
thumbnail
Episode 5: sneaking up on a soldier to steal some items.
thumbnail
Episode 5: the Atrium is a mess too.
thumbnail
Episode 5: Hope takes the elevator to reach the top of Terminus.
thumbnail
Episode 5: a strange computer
thumbnail
Episode 5: toy with the settings and maybe you can cause something to explode.
thumbnail
Episode 5: inside a digital environment. You need to figure out what to do.
thumbnail
Episode 5: this too is part of a digital environment.
thumbnail
Episode 5: a visualization of the world with spy satellites.
thumbnail
Episode 5: the top of the facility
thumbnail
Episode 5: in this part you control a drone instead of a fixed camera.
thumbnail
Episode 5: a meeting between the Overseer and the general
Are we missing some important screenshots? Contribute.