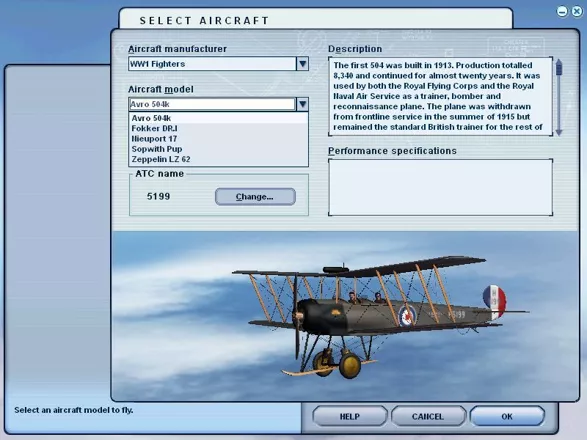
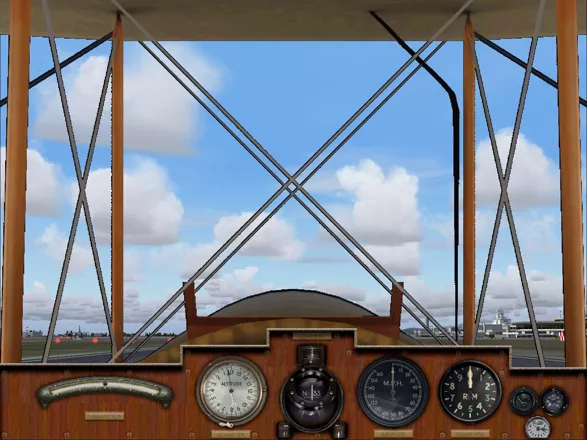
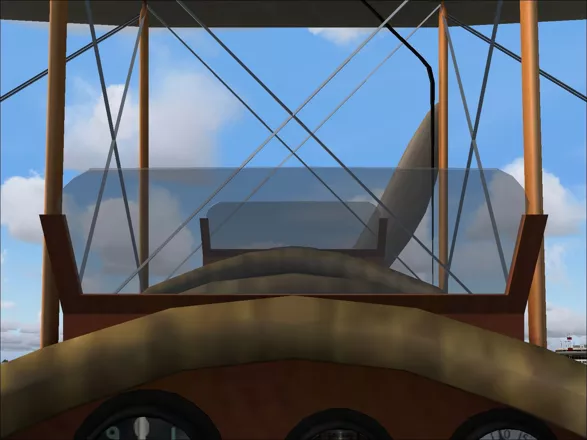
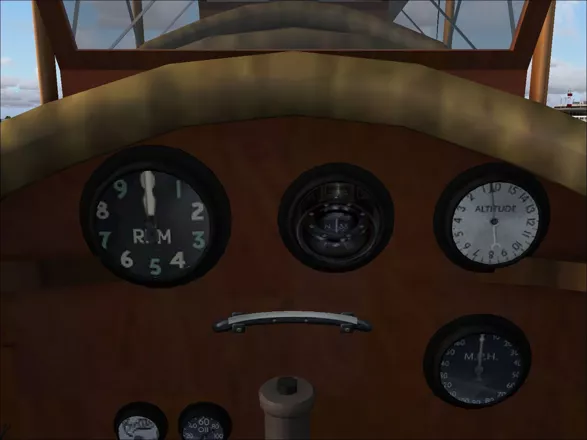
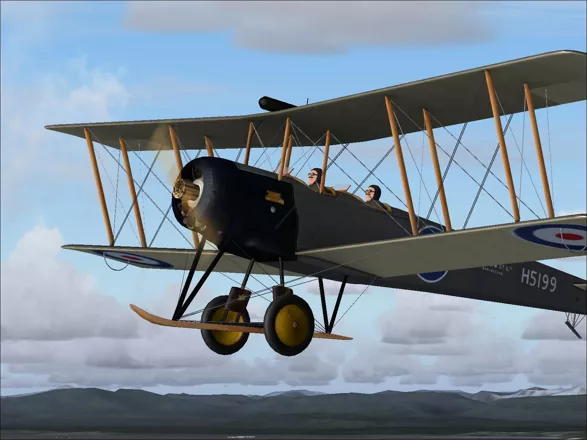
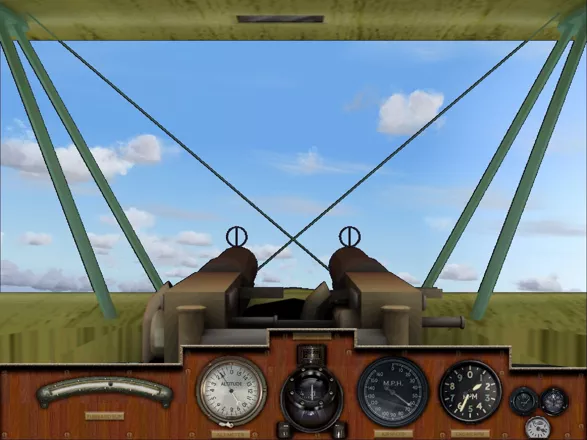
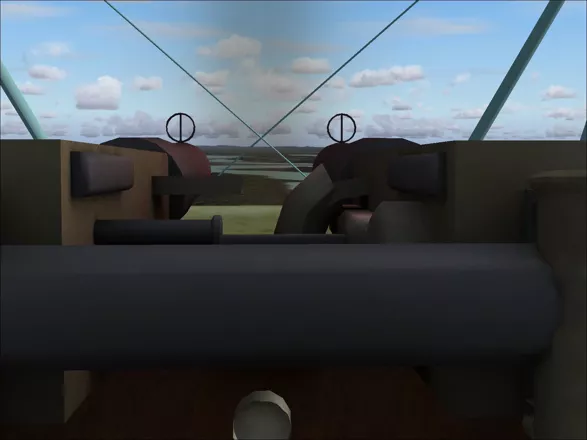
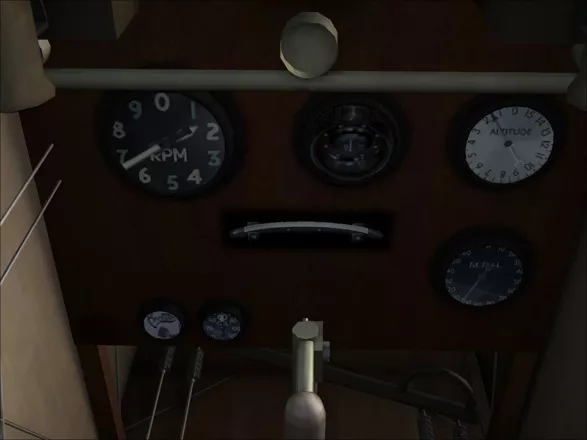
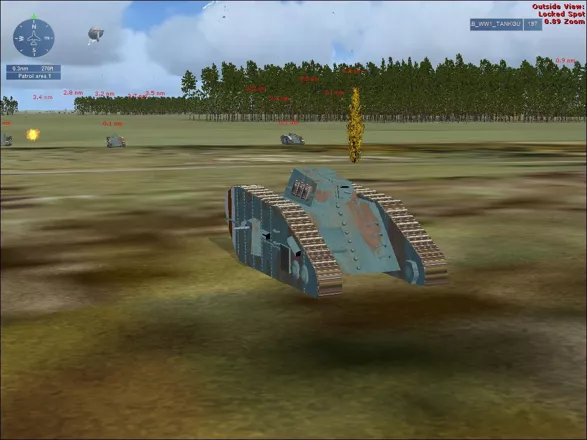
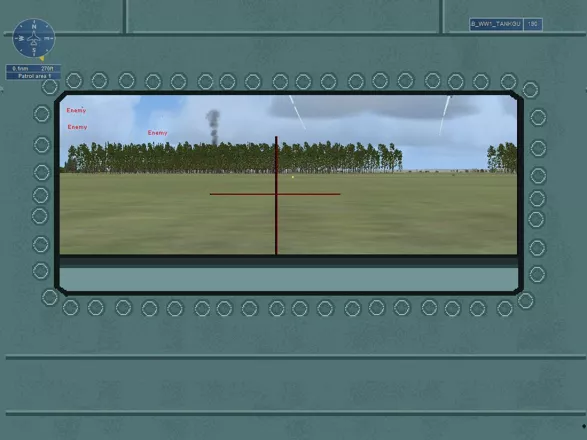
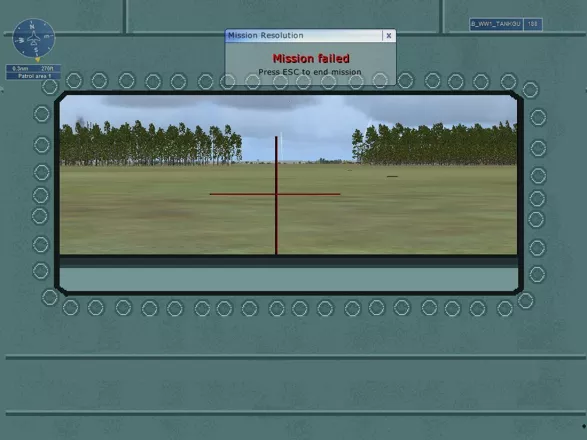
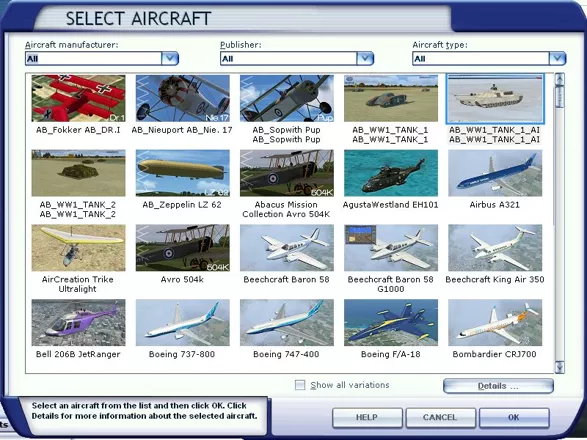
Mission: WWI Dogfight
Moby ID: 55287
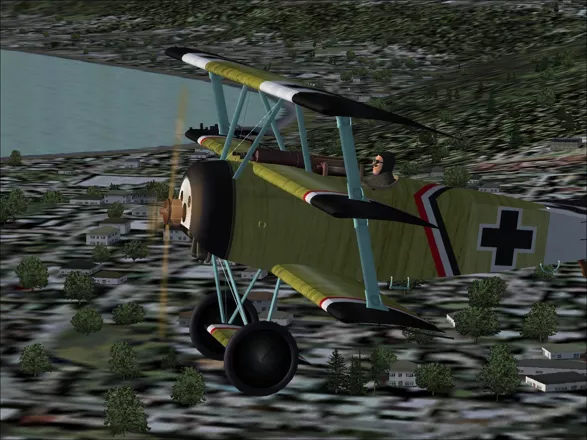
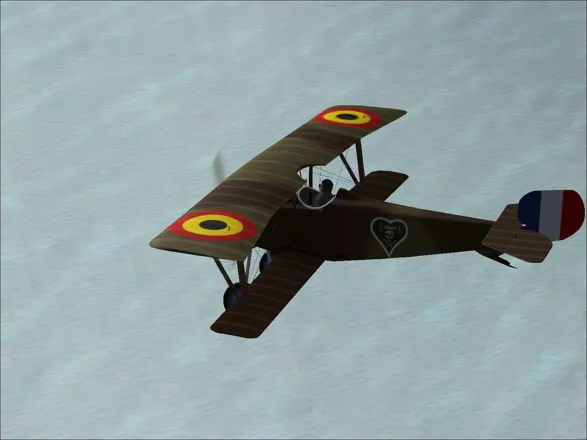
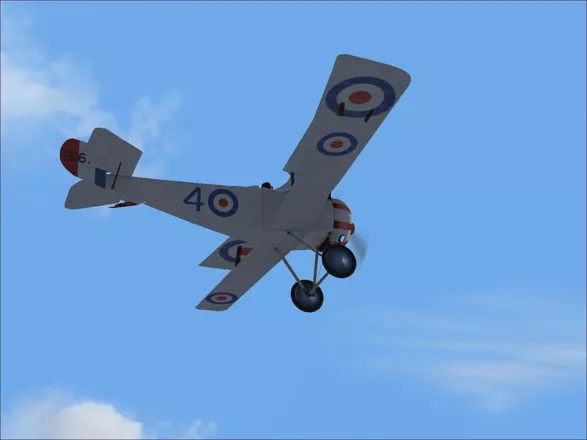
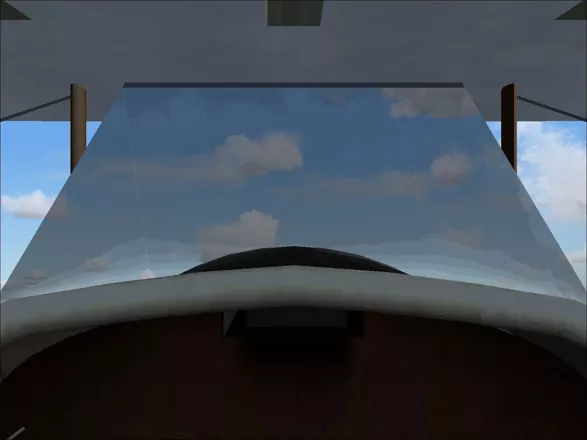
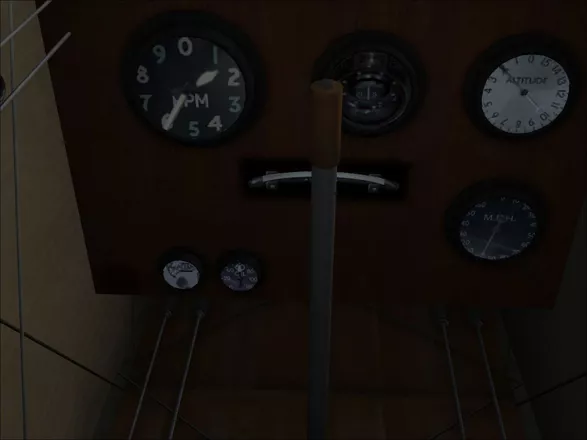
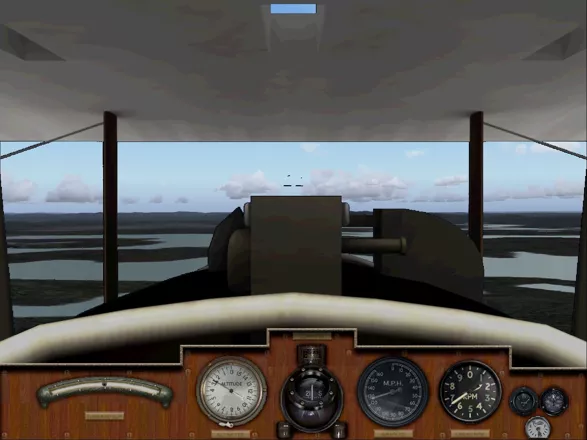
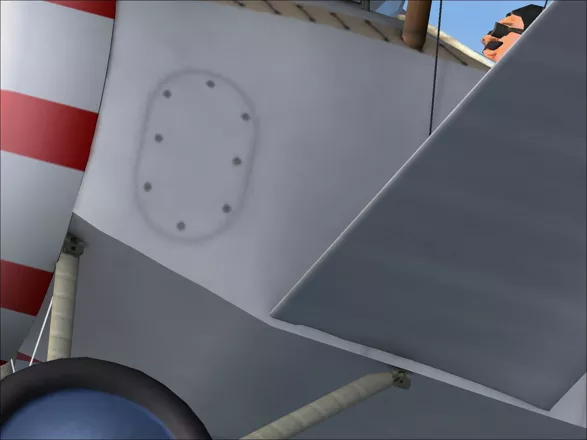
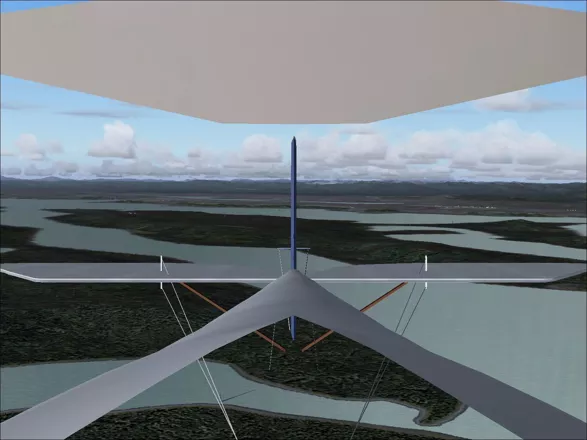
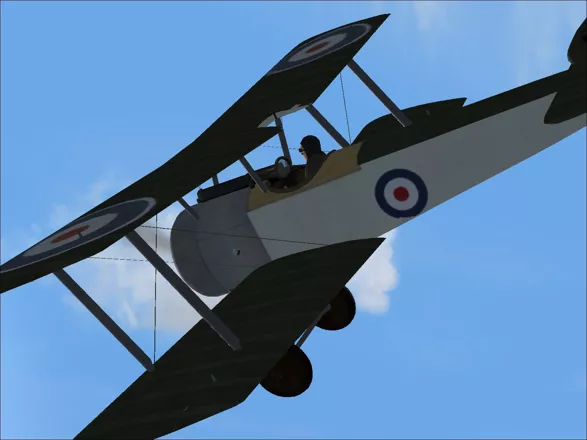
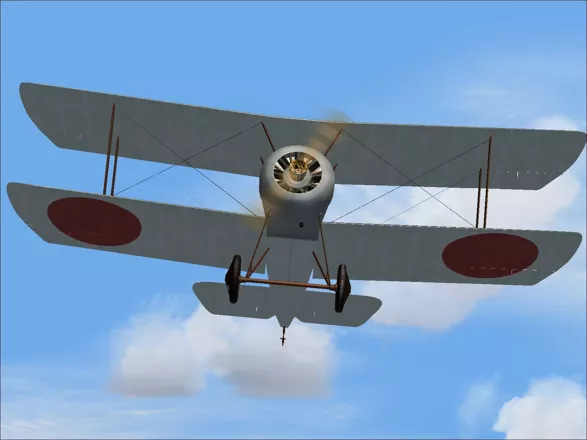
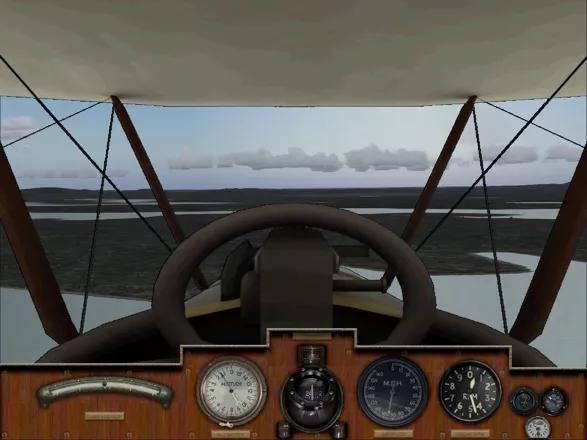
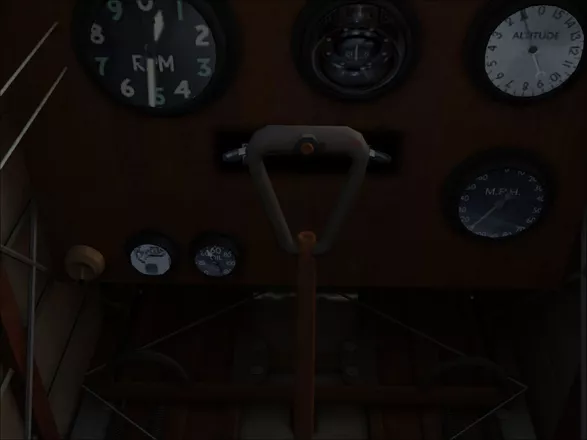
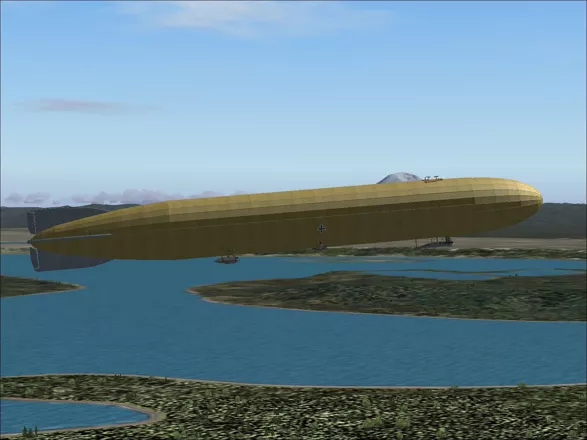
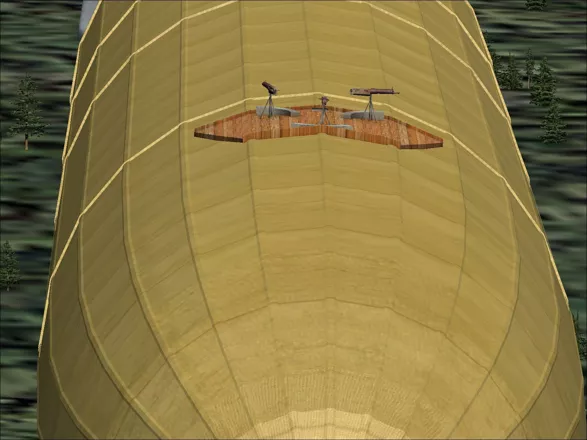
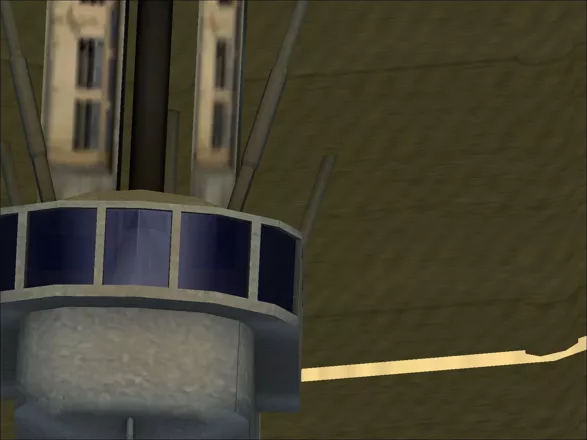
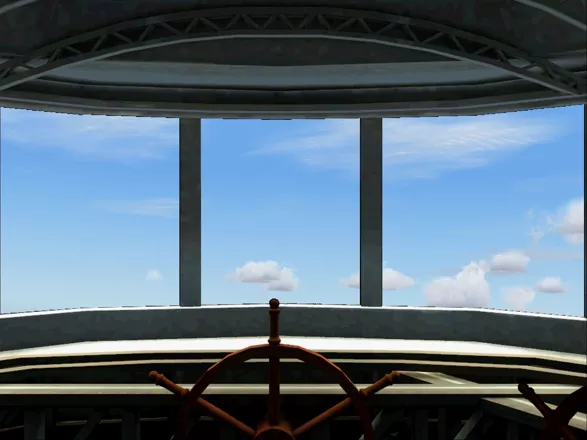
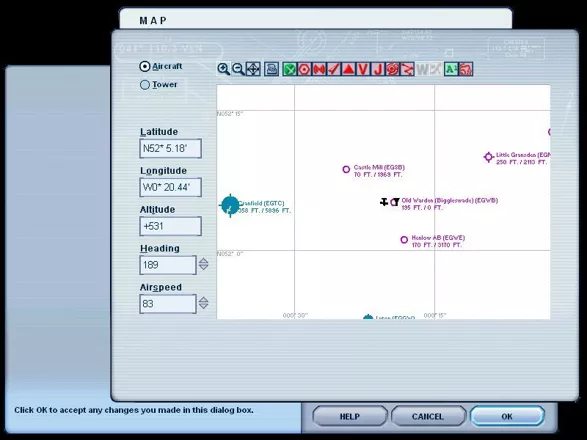
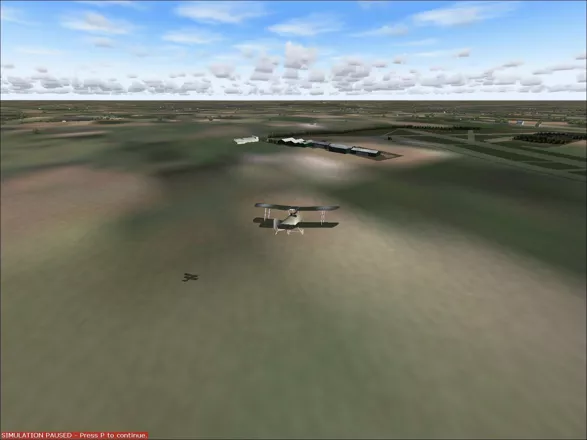
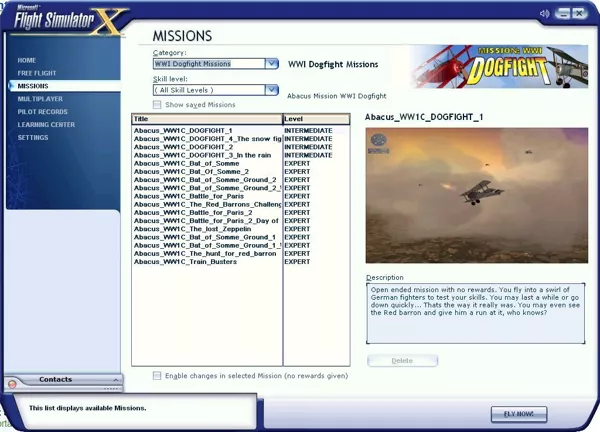
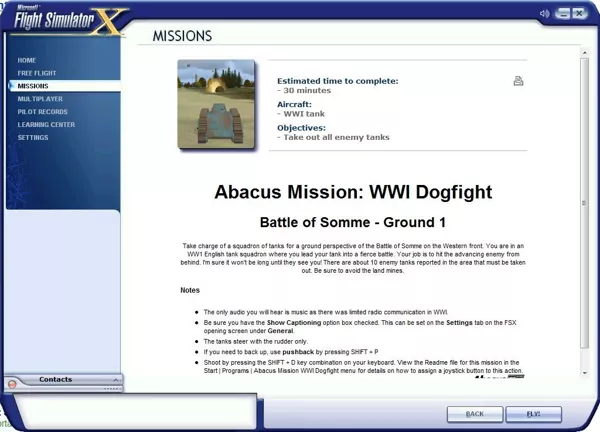
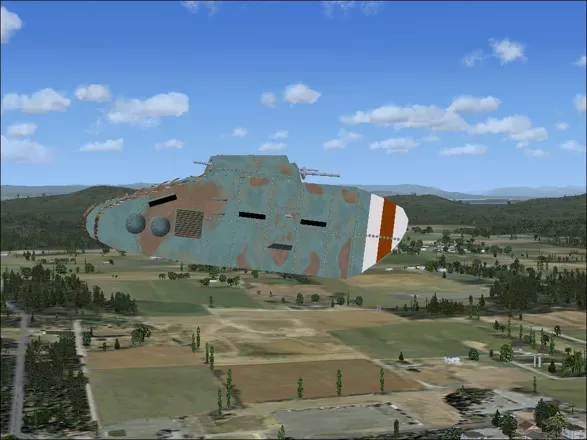
Windows screenshots


Are we missing some important screenshots? Contribute.