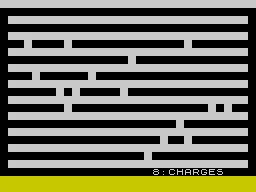
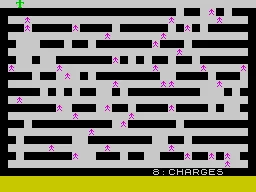
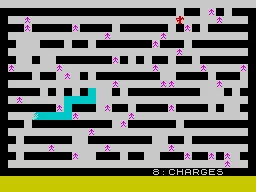
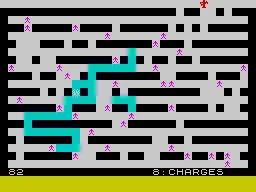
Games Pack 1
aka:
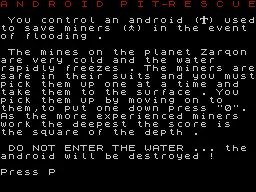
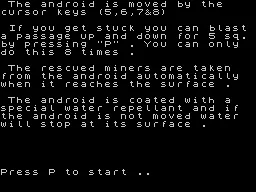
Android Pit Rescue,
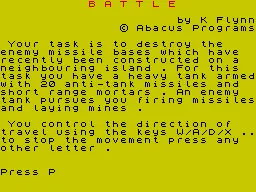
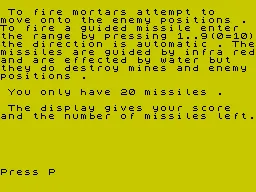
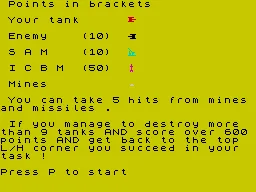
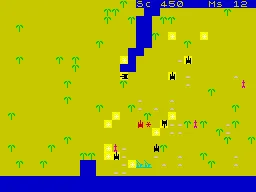
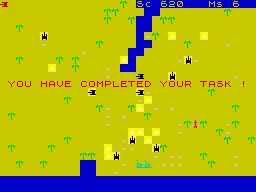
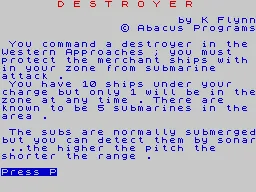
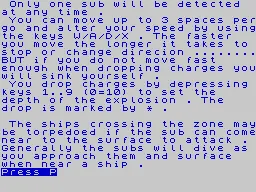
Battle,
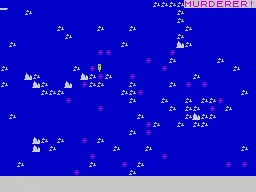
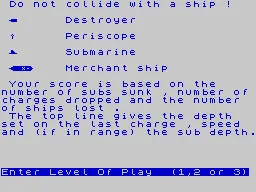
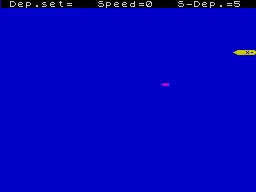
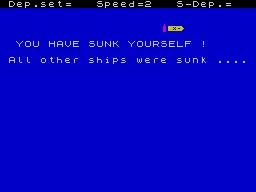
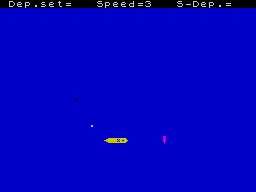
Destroyer,
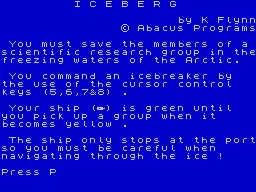
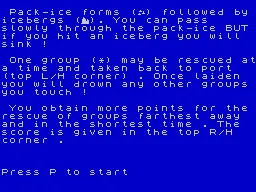
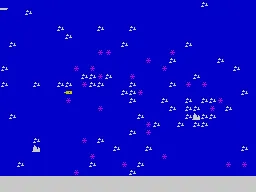
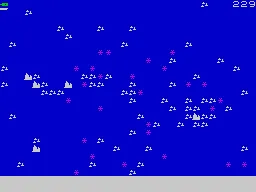
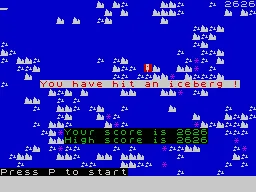
Iceberg
Moby ID: 78311
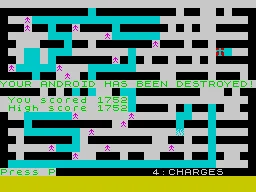
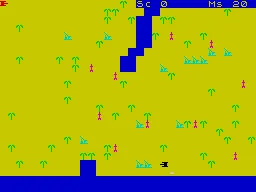
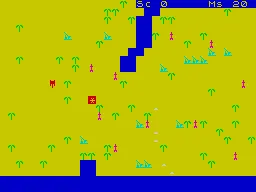
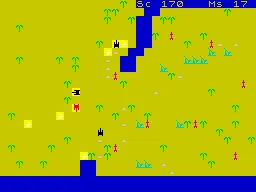
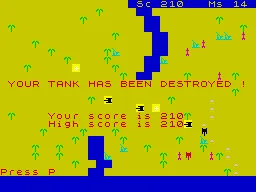
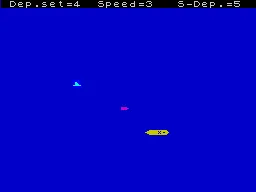
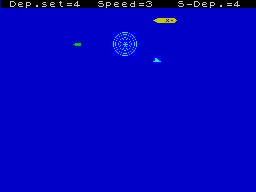
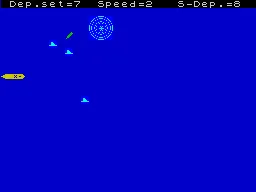
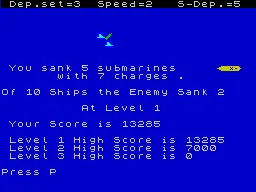
ZX Spectrum screenshots


Are we missing some important screenshots? Contribute.