🕹️ New release: Lunar Lander Beyond

The Banner Saga

Moby ID: 63343

[ All ] [ Android add ] [ iPad add ] [ iPhone add ] [ Linux add ] [ Macintosh add ] [ Nintendo Switch add ] [ PlayStation 4 add ] [ Windows ] [ Windows Apps add ] [ Xbox One ]
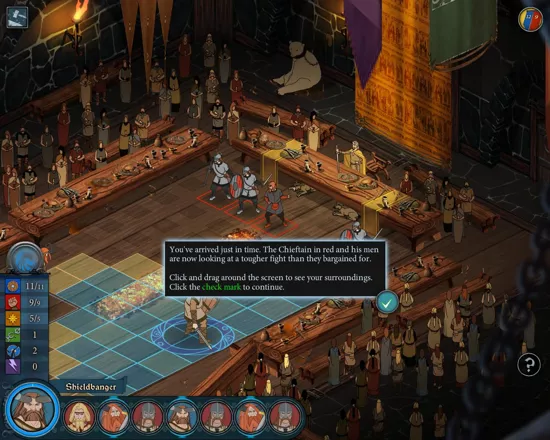
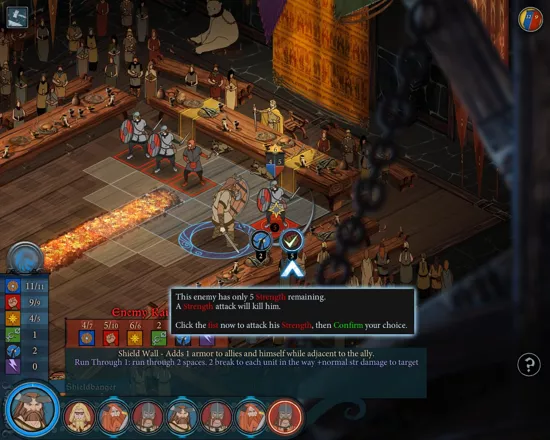
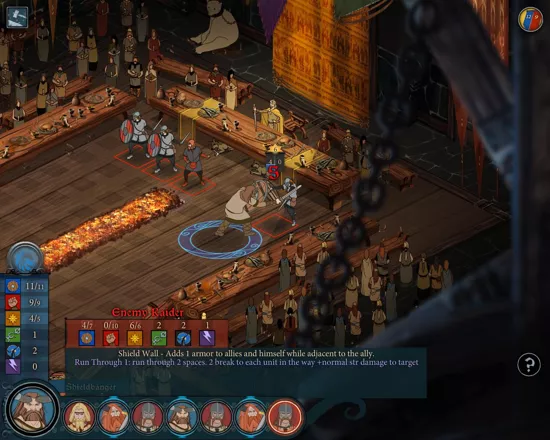
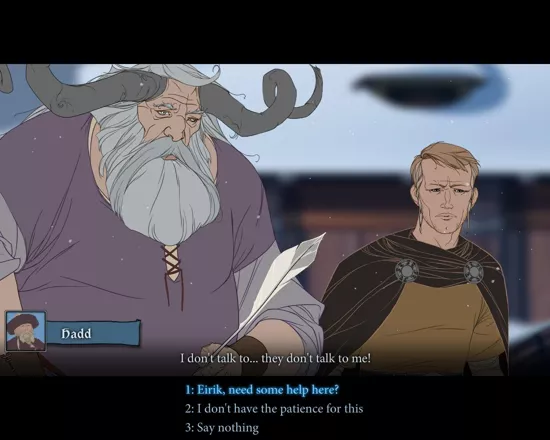
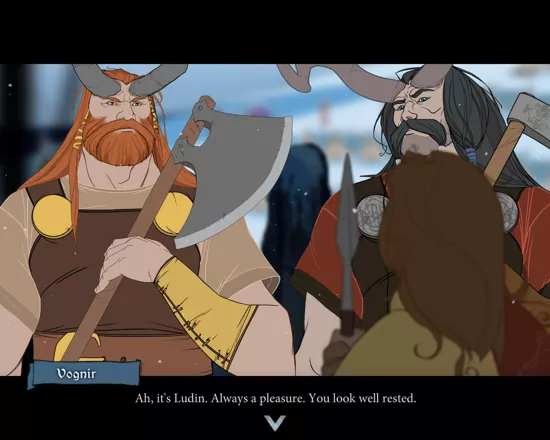
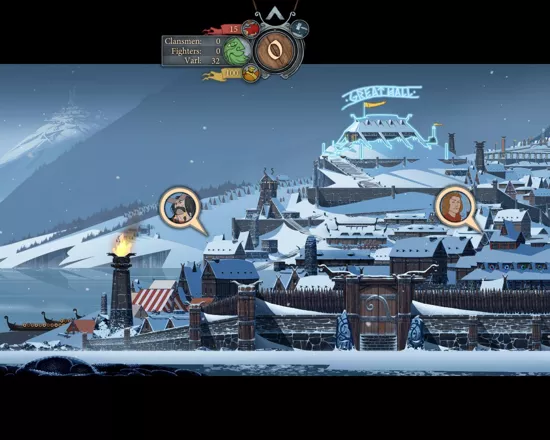
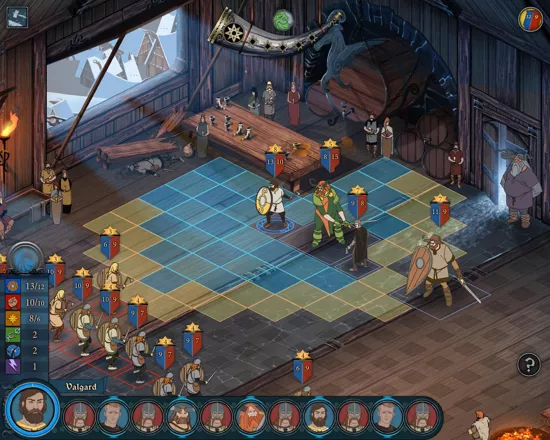
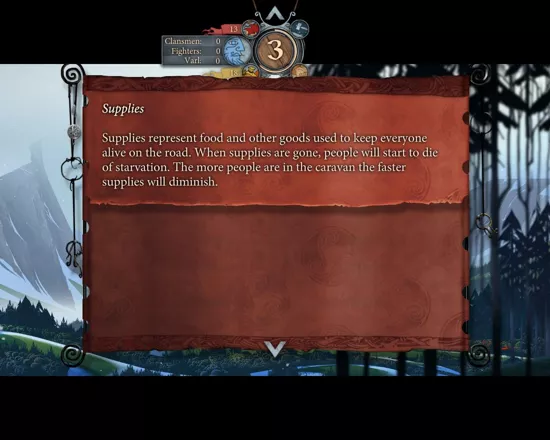
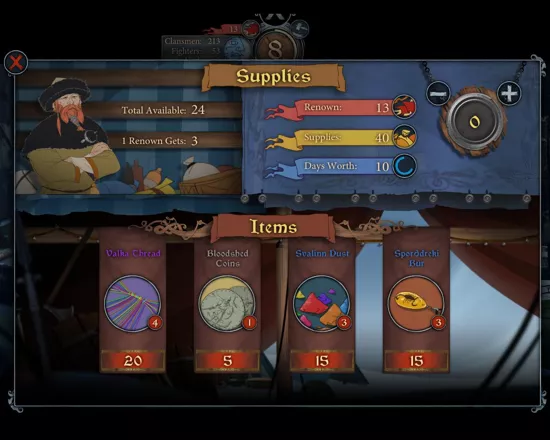
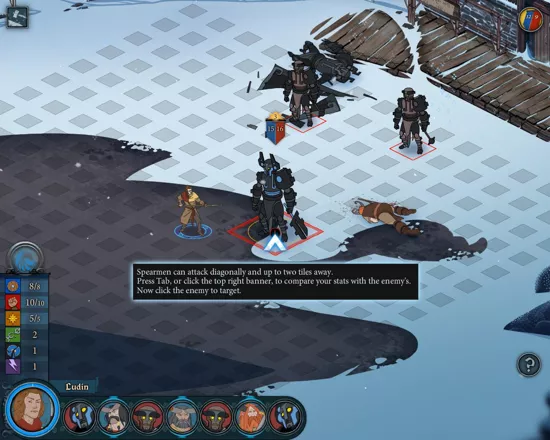
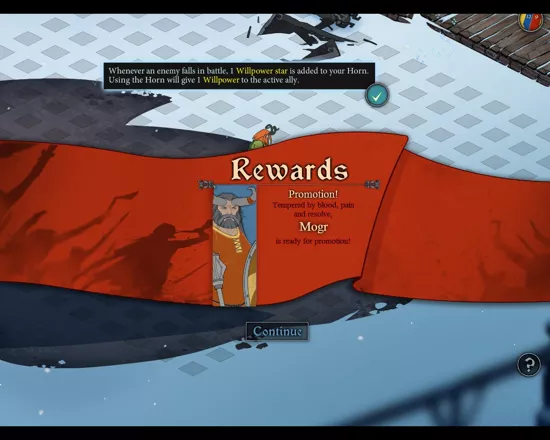
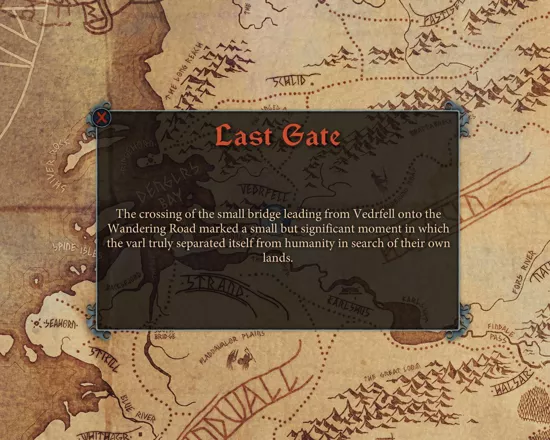
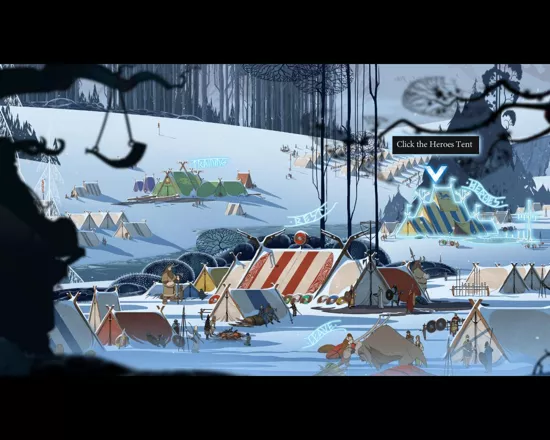
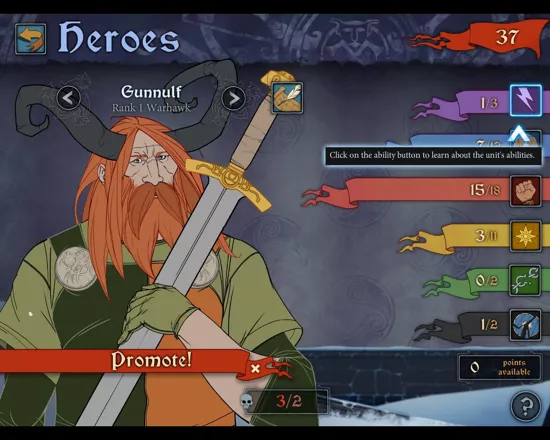
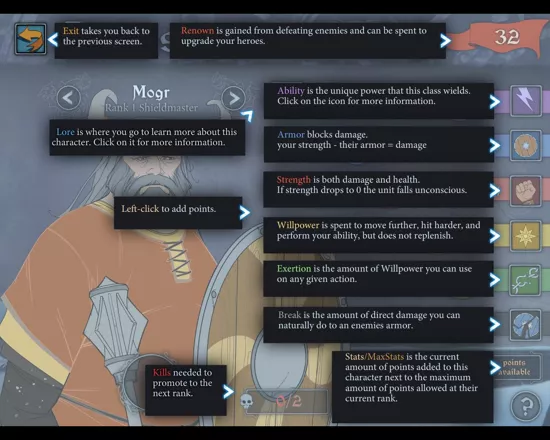
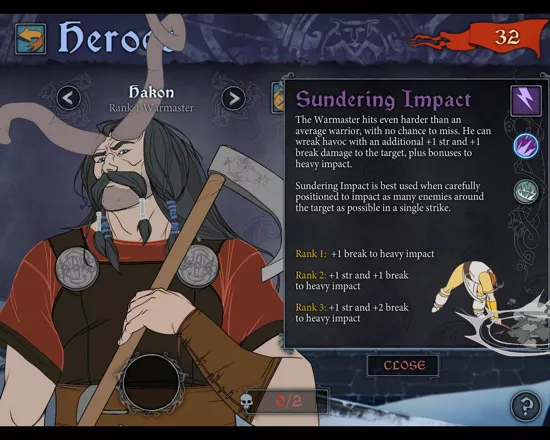
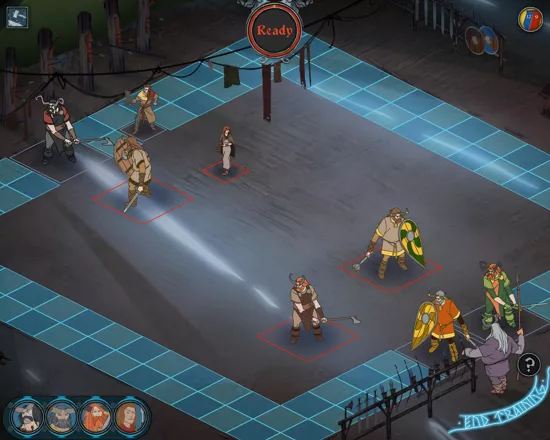
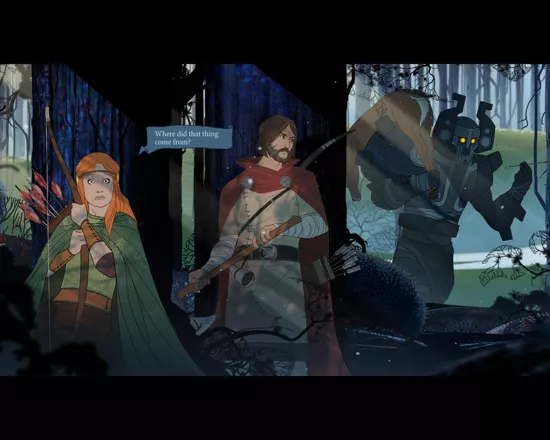
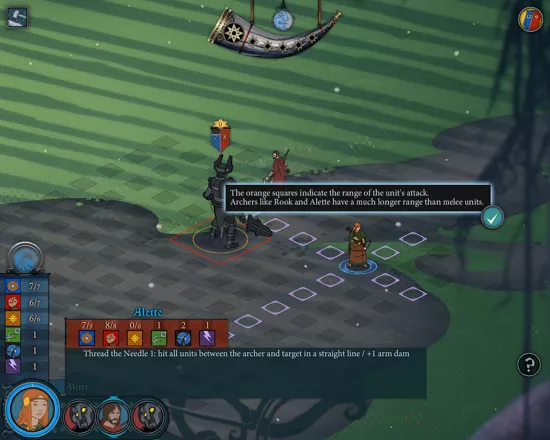
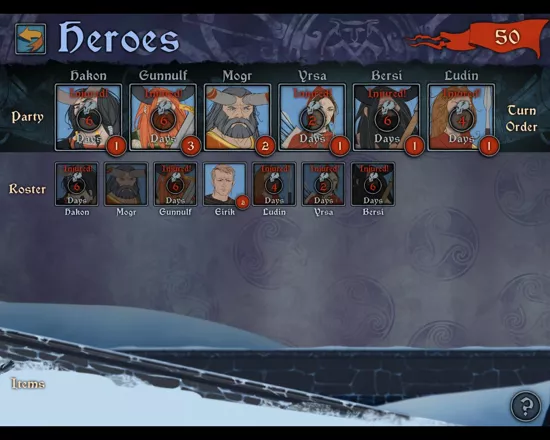
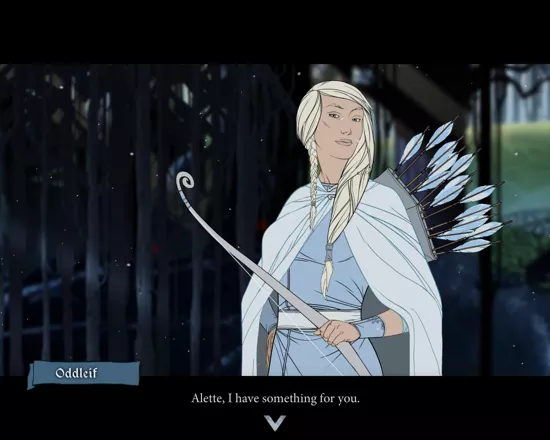
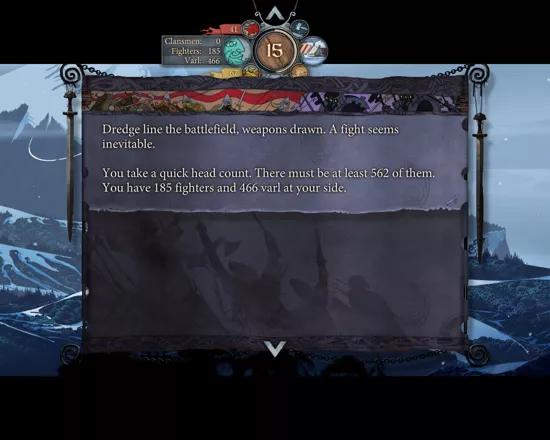
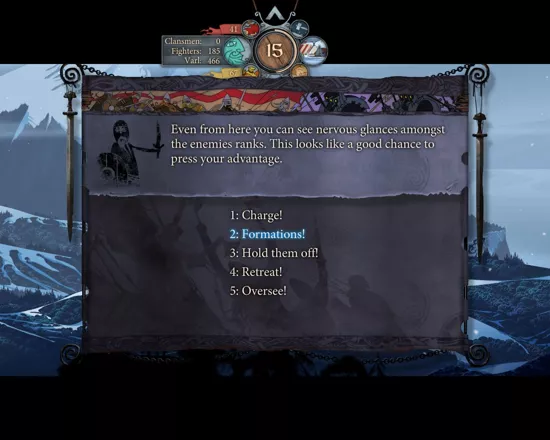
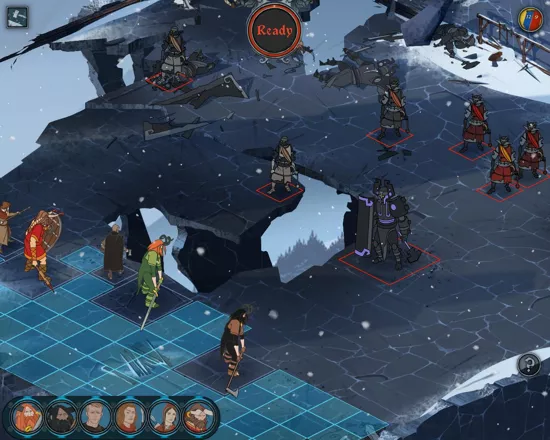
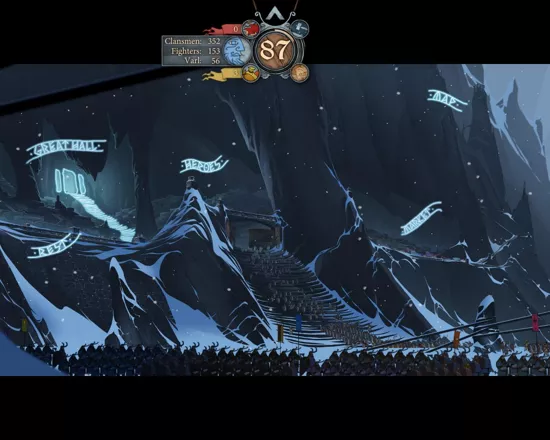
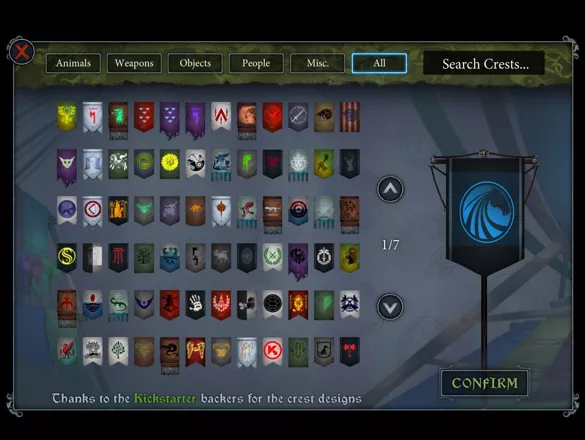
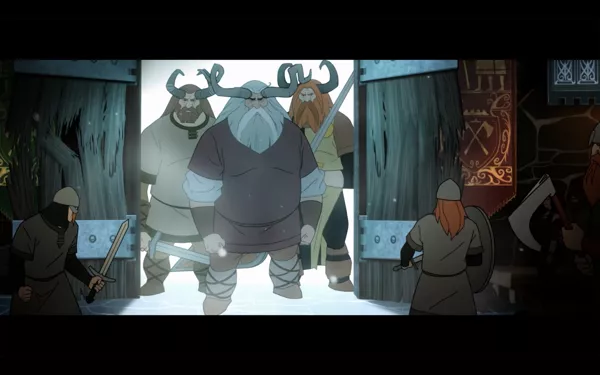
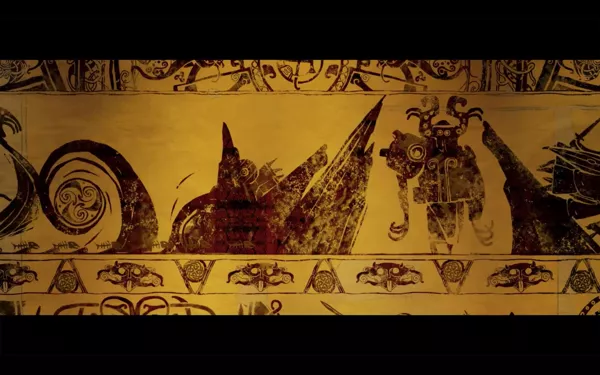
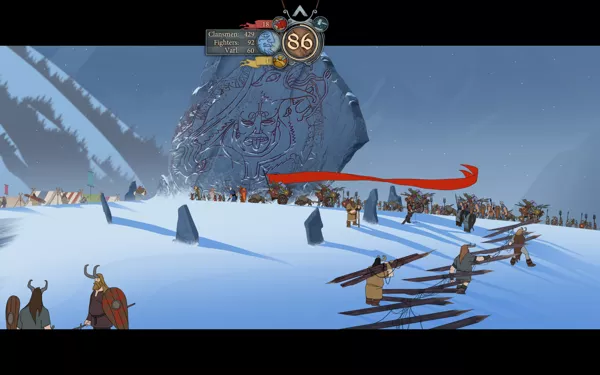
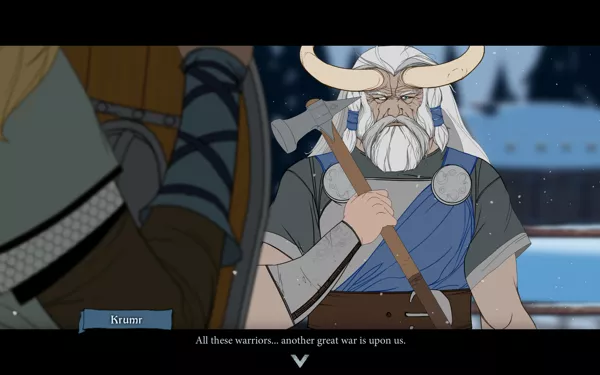
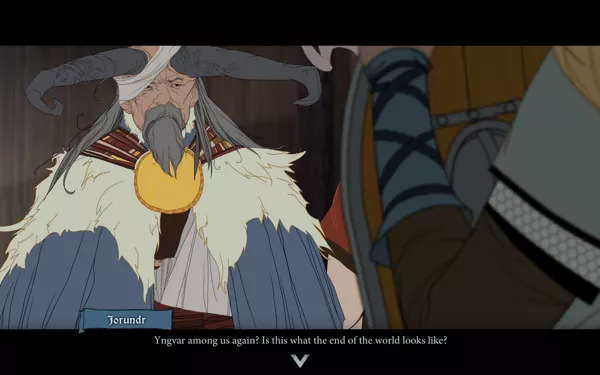
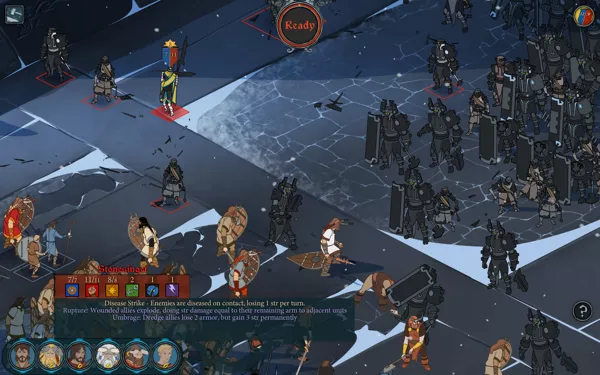
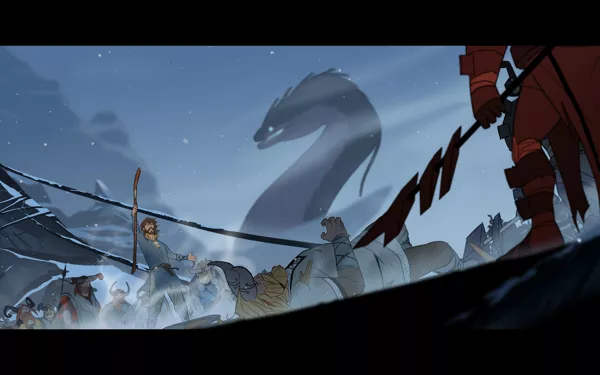
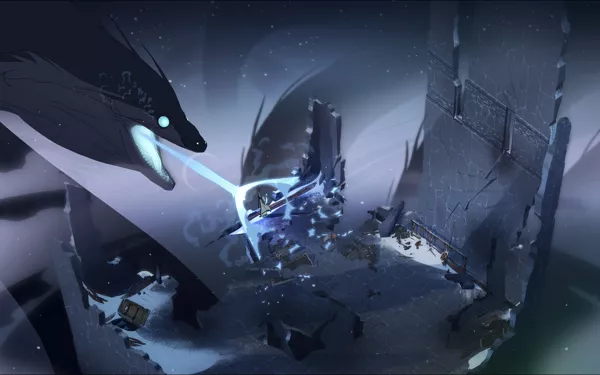
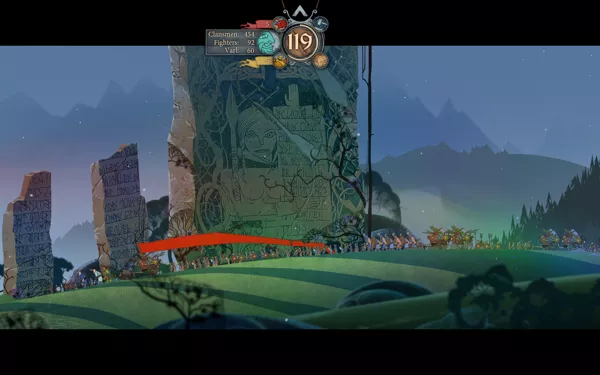
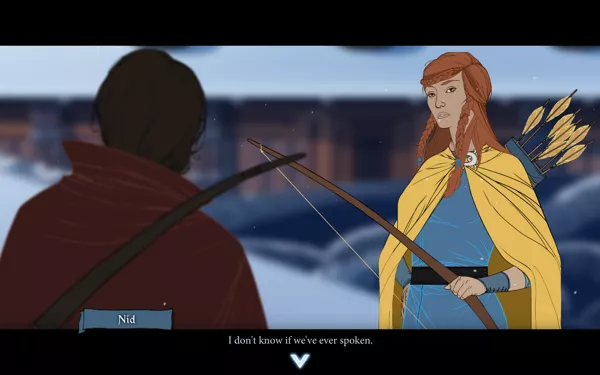
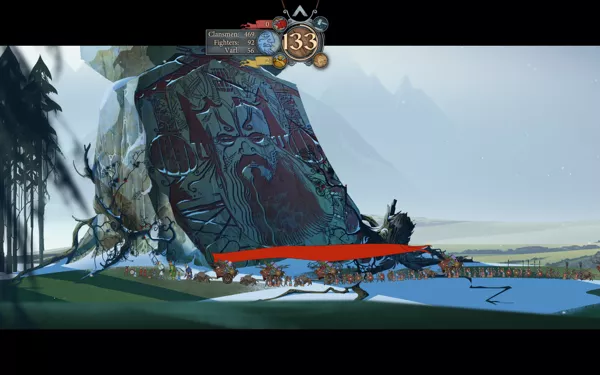
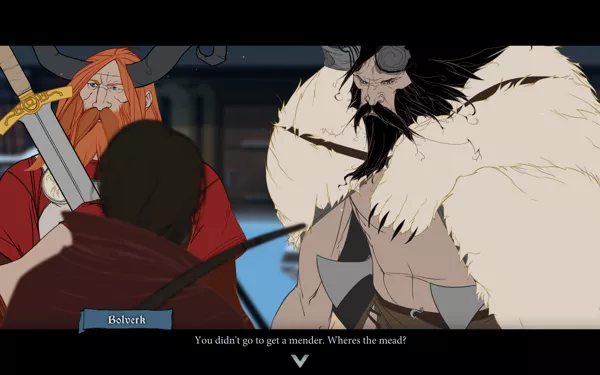
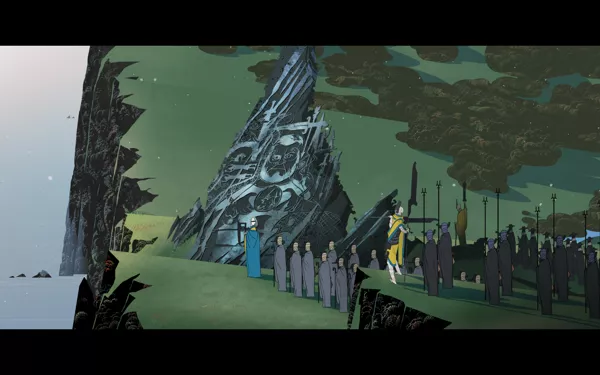
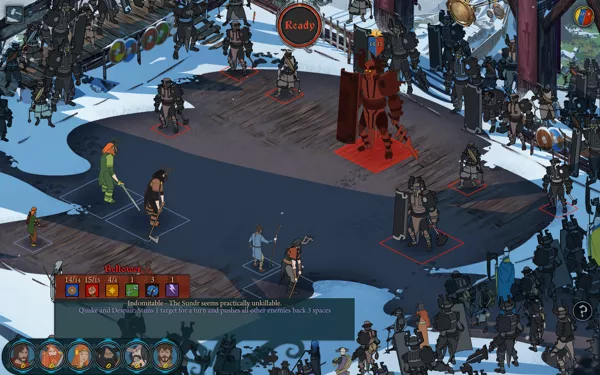
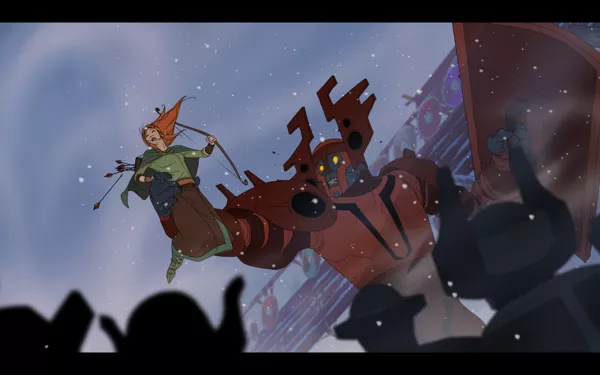
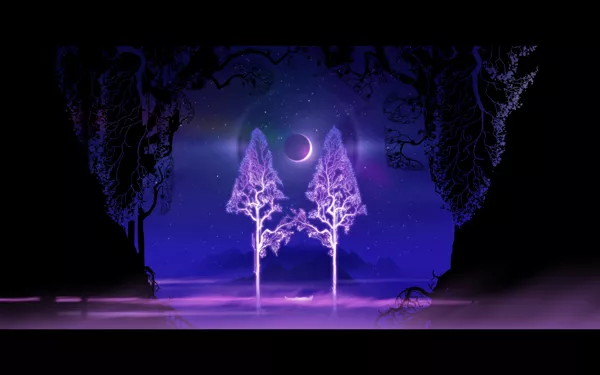
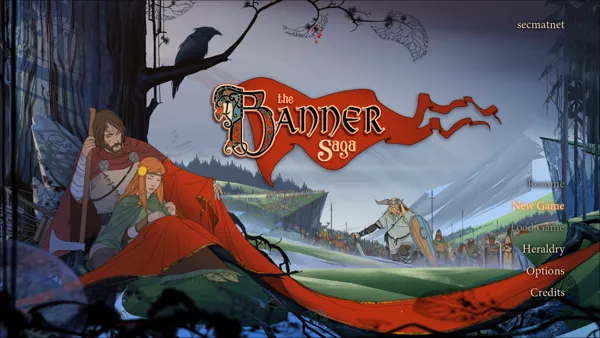
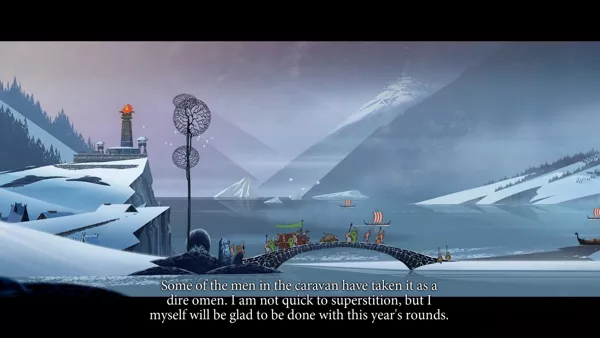
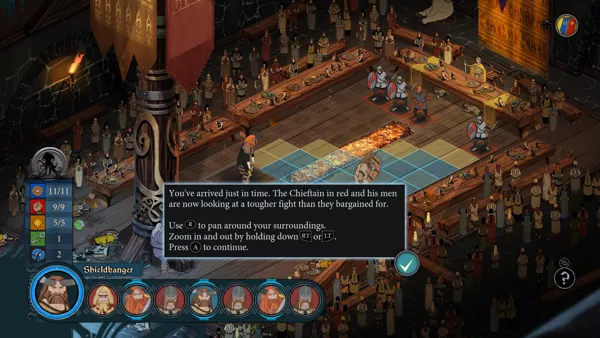
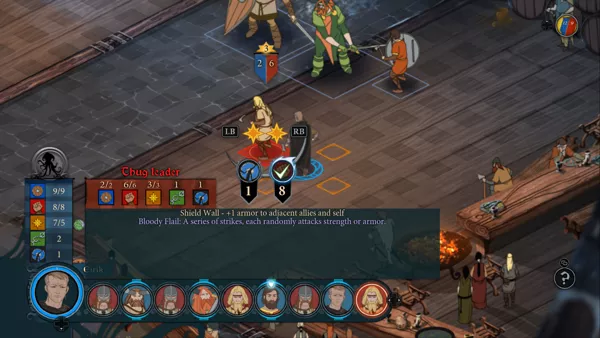
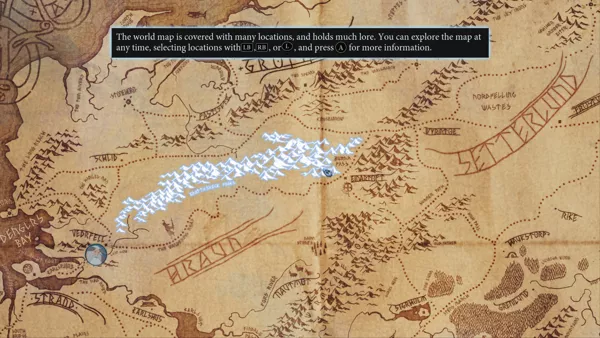
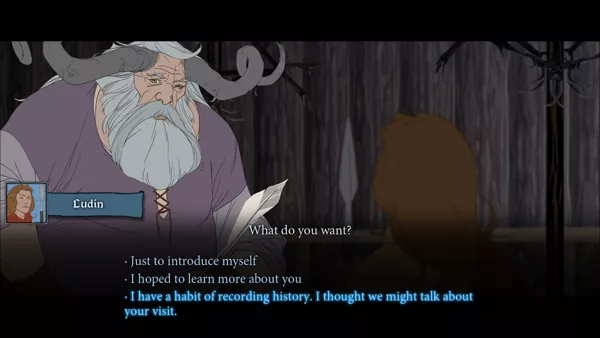
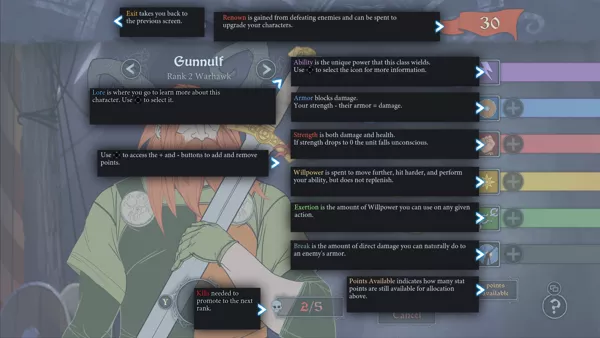
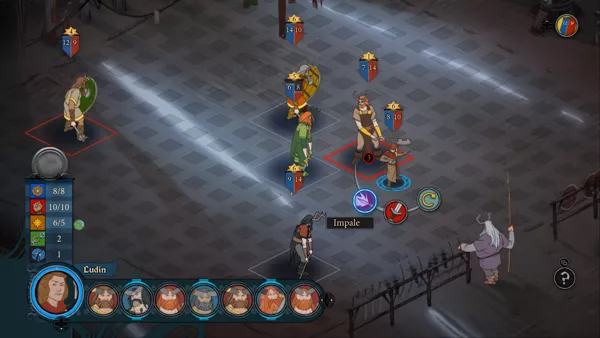
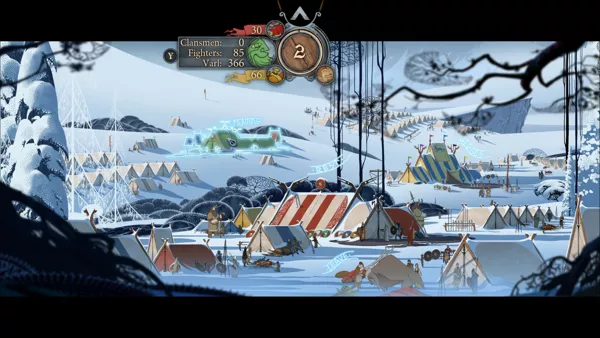
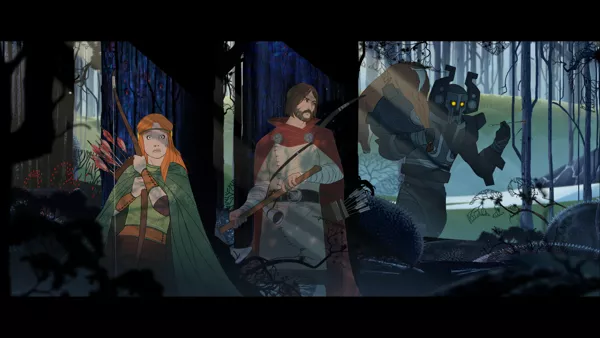
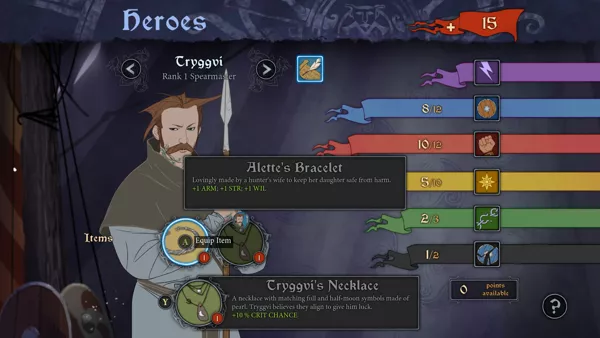
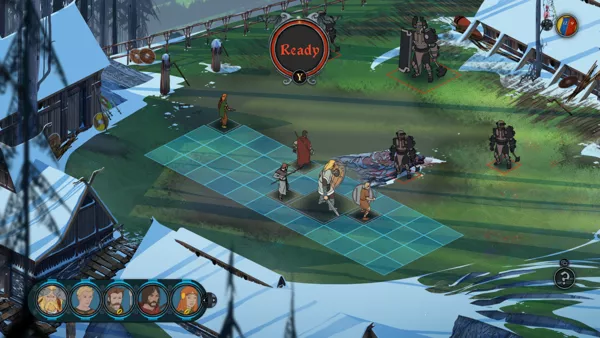
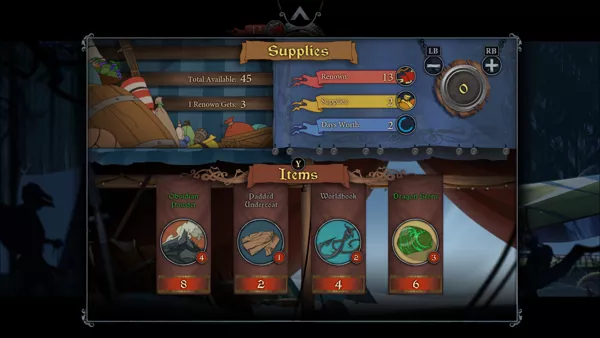
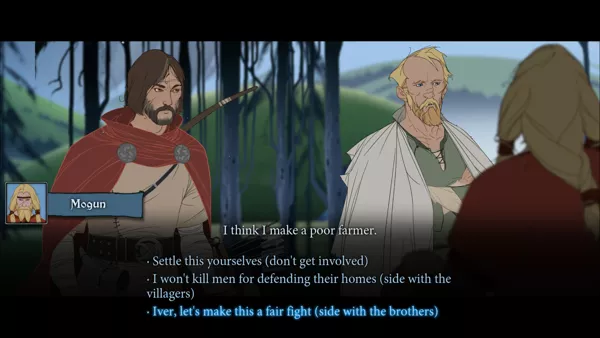
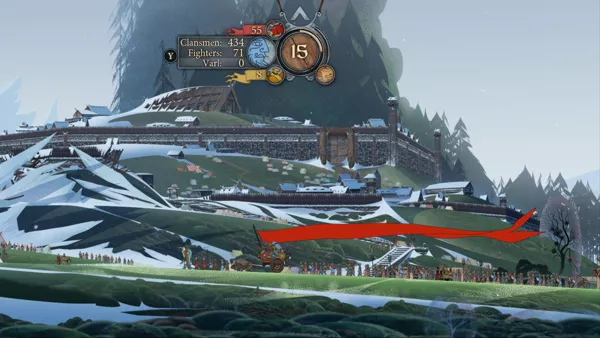
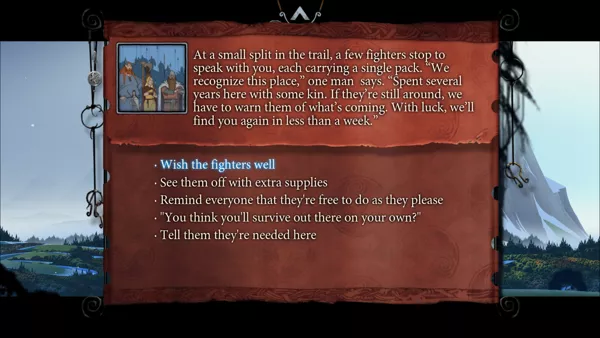
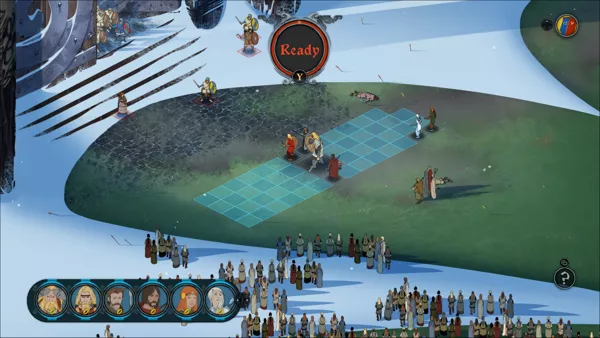
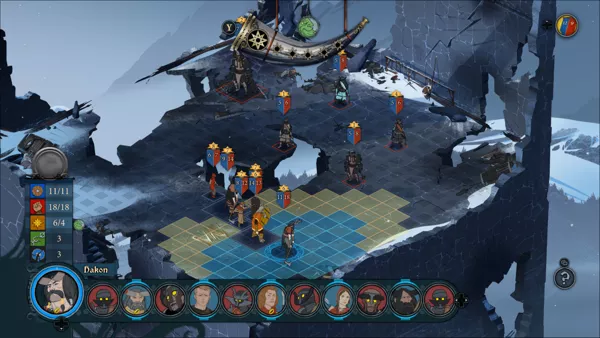
Windows screenshots

thumbnail
Main menu - Animated snow falls in the background.
thumbnail
Story - The party's caravan travelling to the nearest town. These animations of the caravan travelling various lands are frequent throughout the story.
thumbnail
First combat scene - Many of the early combat scenes come with a tutorial of the basic concepts during combat.
thumbnail
First combat scene - Damage is directed towards enemy armor or strength (health). Selecting on an ally or enemy will also reveal their individual abilities.
thumbnail
First combat scene - A successful hit will be indicated by a numerical figure. Presented here is a five damage hit towards the enemy's strength.
thumbnail
Several dialog options, as with many games with dialog choices unfortunately, many still have the same result regardless.
thumbnail
The Varl are horned giants. Extremely fierce warriors in battle, several of which will be a part of the player's party.
thumbnail
Town - Several towns will be visited throughout the game. Buildings or events that may be visited will usually be shown (story depending).
thumbnail
Second combat scene - Surrounded by multiple enemies. Banners here are activated to view the strength of allies and enemies.
thumbnail
Supplies - Supplies are counted one per day when travelling and may be obtained from merchants or through story events.
thumbnail
Merchant - Items and supplies may be purchased here in exchange for renown.
thumbnail
Third combat scene - A short tutorial indicating how spearmen attack. Also featured here are the feared dredge in black armor.
thumbnail
Combat victory - Victory will result in possible leveling up for characters and renown.
thumbnail
Map - The layout of the land. Each glyph may be selected to provide further information of said area.
thumbnail
Camp - While travelling, the player may opt to camp the caravan. Allowing further access to manage heroes.
thumbnail
Heroes - A character sheet for each hero may be access via the hero rooster. Indicating their abilities and option to promote (level up) them.
thumbnail
Help - The help button provides further information on each of the displayed features.
thumbnail
Heroes - Each hero has two special abilities. An active special attack and a passive ability.
thumbnail
Training - At the camp, the player may also use training facilities to test out heroes and their abilities. A trainer will sometimes offer advise during this session.
thumbnail
Story - The story jumps between several leading characters.
thumbnail
Fourth combat scene - Introduction to how archers fight. Their normal attacks and sometimes special attacks have a greater range than melee units.
thumbnail
Hero Rooster - The rooster is primarily used to rearrange turn orders and provide a quick view of hero status. Injured heroes and days needed to recover will also be displayed here.
thumbnail
Story - Oddleif is one of many archer heroes in the game. Also the prettiest.
thumbnail
War - Later in the game, the player will encounter dredge war parties. The total number of combatants are displayed here.
thumbnail
War - Various options the player may choose from when facing a dredge war party. Some of the option will ensure direct melee combat between heroes and some of the dredge.
thumbnail
Combat - Positioning troops against a full compliment of dredge, including ranged dredge slingers.
thumbnail
The forbidden city of the Varl, where no human has set foot. The thousand remaining Varl warriors make their last stand against the dredge onslaught.
thumbnail
Story - All the heroes have finally gathered at the Varl Great Hall.
thumbnail
That's one big dredge.
thumbnail
Crest selection - A purely decorative function. A player's crest will be displayed while camping.
thumbnail
Cinematic opening: Ubin arrives in the city of Strand in time to stop an attack on the Governor by the Skalfings.
thumbnail
A tapestry in the chamber of the Governor illustrating the creation myths of the mysterious Dredges.
thumbnail
Hakon, the leader of the Varl caravan, reaches the city of Grofheim too late, aflame and completely overrun by Dredge.
thumbnail
Camping close to the Godstone of Hadrborg, the disciple of Loom Mother and the creator of the Varl.
thumbnail
Reaching Einartoft, the ancient fortress-city to the south to where Jorundr the Varl king, leaded the remnants survivors of the burnt city of Grofheim.
thumbnail
Krumr, one of the oldest living Varl warriors.
thumbnail
Jorundr, the wounded Varl king.
thumbnail
Helping Iver blocking the horde of Dredges that are forcing their way through the bridge of Einartoft. The first appearance of a stonesinger (yellow).
thumbnail
After winning the battle, Iver faces himself Bellower of the Sundr, god among dredge. One of his arms his ripped off. Eyvind distracts Bellower and a massive serpent appears.
thumbnail
Juno meets the mysterious monumental serpent for the 1st time when unsuccessfully it tries to consume her by flames. They'll have a chit chat later.
thumbnail
Dundr's Godstone, the counterpart of Loom-mother.
thumbnail
Ingrid's godstone describing the history of gods. The Rosetta stone for the menders.
thumbnail
Oddleif trained several women to become warriors because of the increasing dangers the caravan was facing. Nid from the destroyed village of Frostvellr is her best student.
thumbnail
Bjorulf's godstone, the god of brewing equivalent to Dionysus (Greece) or Bacchus (Rome).
thumbnail
Bolverk, the Varl Berserker leader of the Ravens, a mercenary group.
thumbnail
Boersgard, a city with a dock is completely surrounded by the Dredge leaded by Bellower.
thumbnail
The godstone of Stravhs, worshipped by the Dredge. It's time to collect some silver to forge a special arrow which induce Bellower to think he's not immortal.
thumbnail
The showdown with Bellower.
thumbnail
Bellower was hit by the silver arrow. But there are consequences...
thumbnail
...and a true Saga couldn't end without tragedy....

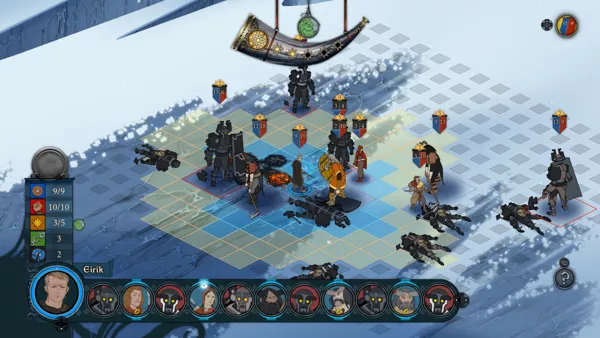
Xbox One screenshots

thumbnail
Main menu
thumbnail
Banners
thumbnail
Most of the game happens on the road
thumbnail
Interrupting the royal feast
thumbnail
Willpower can be used to strengthen regular attacks
thumbnail
World map
thumbnail
Dialogue and action choices affect the story and party members
thumbnail
Character info help screen
thumbnail
Different character types have different attacking options
thumbnail
Camping is key to keeping your troops happy and rested
thumbnail
Hiding from the lone Dredge
thumbnail
Equipping items give characters various bonuses
thumbnail
Placing the troops before the combat commences
thumbnail
Trading with the merchant
thumbnail
Choosing the fate of the village
thumbnail
The caravan is approaching the fortified village
thumbnail
Some of the fighters are splitting from the party
thumbnail
Townsfolk are just idly watching the battle
thumbnail
Surrounded but not going down without a fight
thumbnail
Enemy slingshot troops can hit as far as the archers
thumbnail
As if Dredge isn't enough of an enemy force, humans fight other humans just as well
Are we missing some important screenshots? Contribute.